19 April 2019

How To Make A Paper Box

Remember when we learned how to make a paper bag and an envelope?  This will be the monumental closing to the trilogy, where I recommend fancy products like "cardstock" and "dry adhesives."  In fact, it's so exciting that I've purchased my very own dry adhesives with three sets of replacements, a 30x30 scoring board for parallel folding (hello paper bags), and 180 extra pieces of 30x30 cardstock.  I wouldn't want to be unprepared for a mass paper box making emergency.

As far as the math is concerned, this one is very boring.  It's just addition.  I justify this, however, with the notion that the endings of trilogies are more about explosions and special effects than elegance or cleverness.  Our standard paper box does not require the unreasonable dimensions (2L+2W+1) of the beloved paper bag; nor does it require the precision or angle measurements of the crafty envelope.  This post is one for the masses.

We will do this in centimeters, for switching to inches at this point would be insane.  Also, as previously mentioned, I invested in a scoring board in centimeters because coolness radiates from my core.  Your box is made of two movable parts called a bottom and a top, each of which has three dimensions.  Let L, W, and H represent bottom length, bottom width, and bottom height.  You may choose the top height, T, of your box, as long as 1 ≤ T ≤ H.  Anything else would be at your own risk.

You will need:
1.  A piece of cardstock of dimensions (L+2H) by (W+2H) for the bottom
2.  A piece of cardstock of dimensions (L+2T+1/4) by (W+2T+1/4) for the top
3.  A ruler, a pencil for lightly marking measurements, and a blunt pointy object for creasing
  OR a paper scoring board
4.  Some form of adhesive (dry adhesives like double sided adhesive or glue dots recommended)

Optional materials include:
1.  A paper cutting device (paper cutter, scissors, craft knife, etc.)
2.  A thin cardboard or cardstock insert of dimensions L by W
3.  Ribbons, gifting tags, or other decorations
4.  A bone folder, if you're feeling extra fancy


Step 1.1:
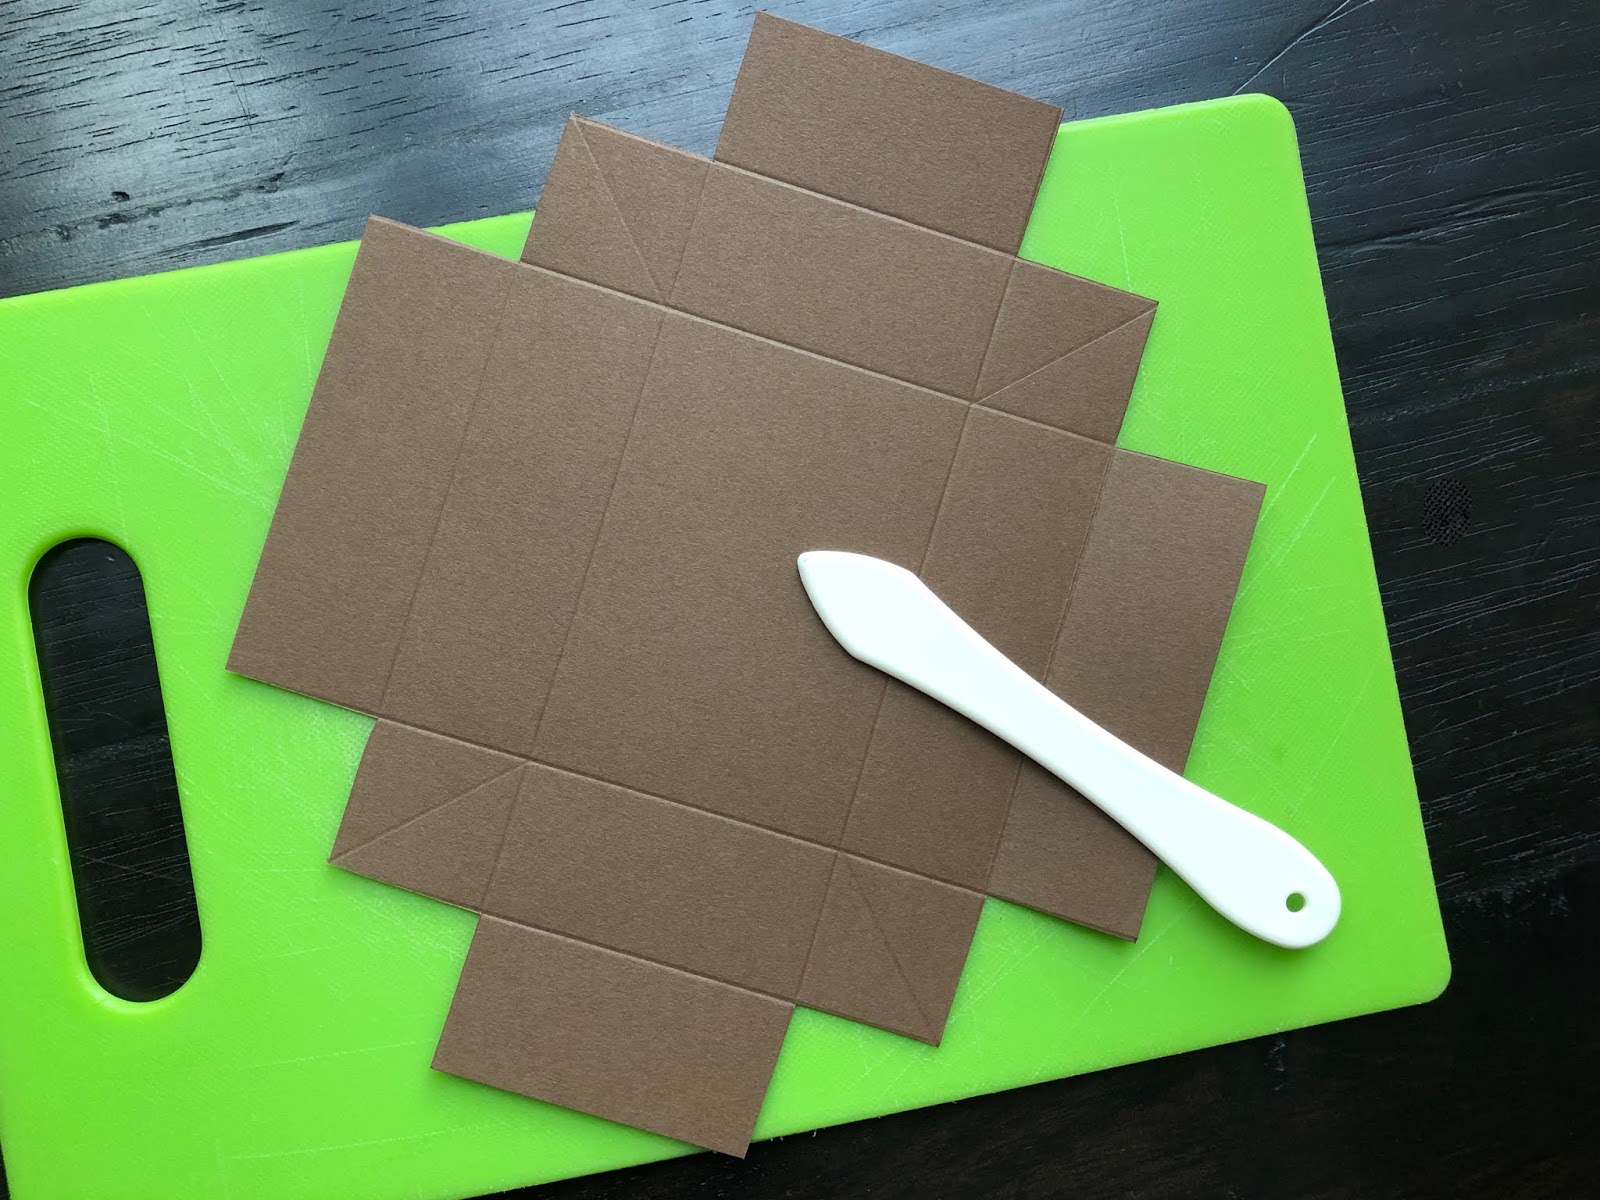
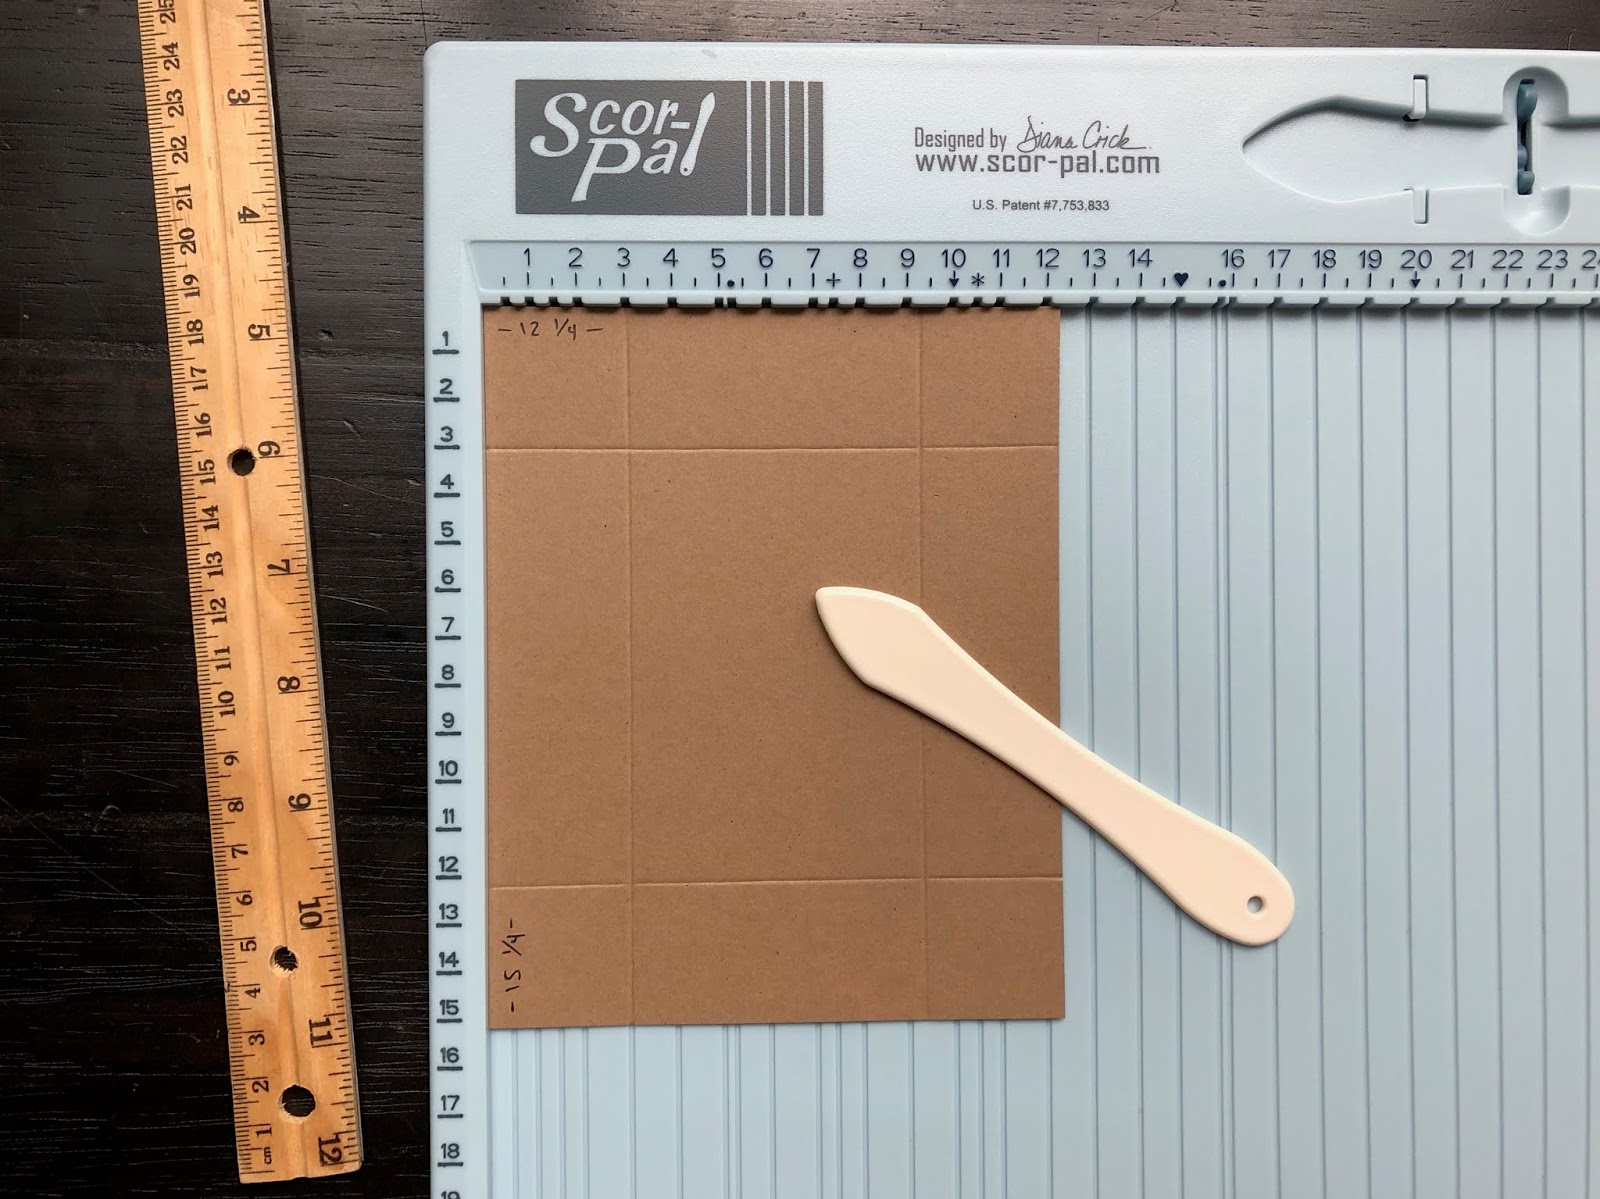
Starting with the first piece of cardstock, score a distance of H from each edge of the rectangle.


Step 1.2:
This scoring has created four squares along the corners.  Score each of these squares along the diagonals that lead to the corners of your cardstock.


Step 1.3:
Fold into a box, creating four inward triangular flaps.  I recommend sealing these triangles to themselves with one strip of adhesive along the side creating each corner of the box, and sealing the triangles to the inside of the box with another strip of adhesive along the hypotenuses.  I also recommend adhering the triangles to the shorter sides of the box, W, but the world is your oyster.


Step 1.4:
It is now time to create a lid.  I am sure it is obvious, but disregarding the difference in height, your second piece of cardstock is a quarter of a centimeter larger in both dimensions, so it will fit around your bottom box.  Score a distance of T from each edge and complete.


Step 2.1:
But what if you are either wealthy in large pieces of cardstock or making a very small box?  In these cases, you might want extra flaps to fold down into the sides of your box, which create a folded seam, hide your triangles, and add rigidity.  With three arguments behind such a maneuver, the rewards clearly outweigh the effort.  Simply measure your pieces of cardstock to (L+4H) by (W+4H) and (L+4T+1/4) by (W+4T+1/4).  While you're at it, make sure you have an L by W insert ready to line the bottom of your box, as reinforcing only the sides of a paper box shows irresponsibility.


Step 2.2:
With your first piece of cardstock, you will score H from each edge not once, but twice (2H).  After all, you're a professional.


Step 2.3:
Remove the four L-shapes in the corners.  The rest of this is so routine that I am moving onto our next discussion.


Step 3.1:
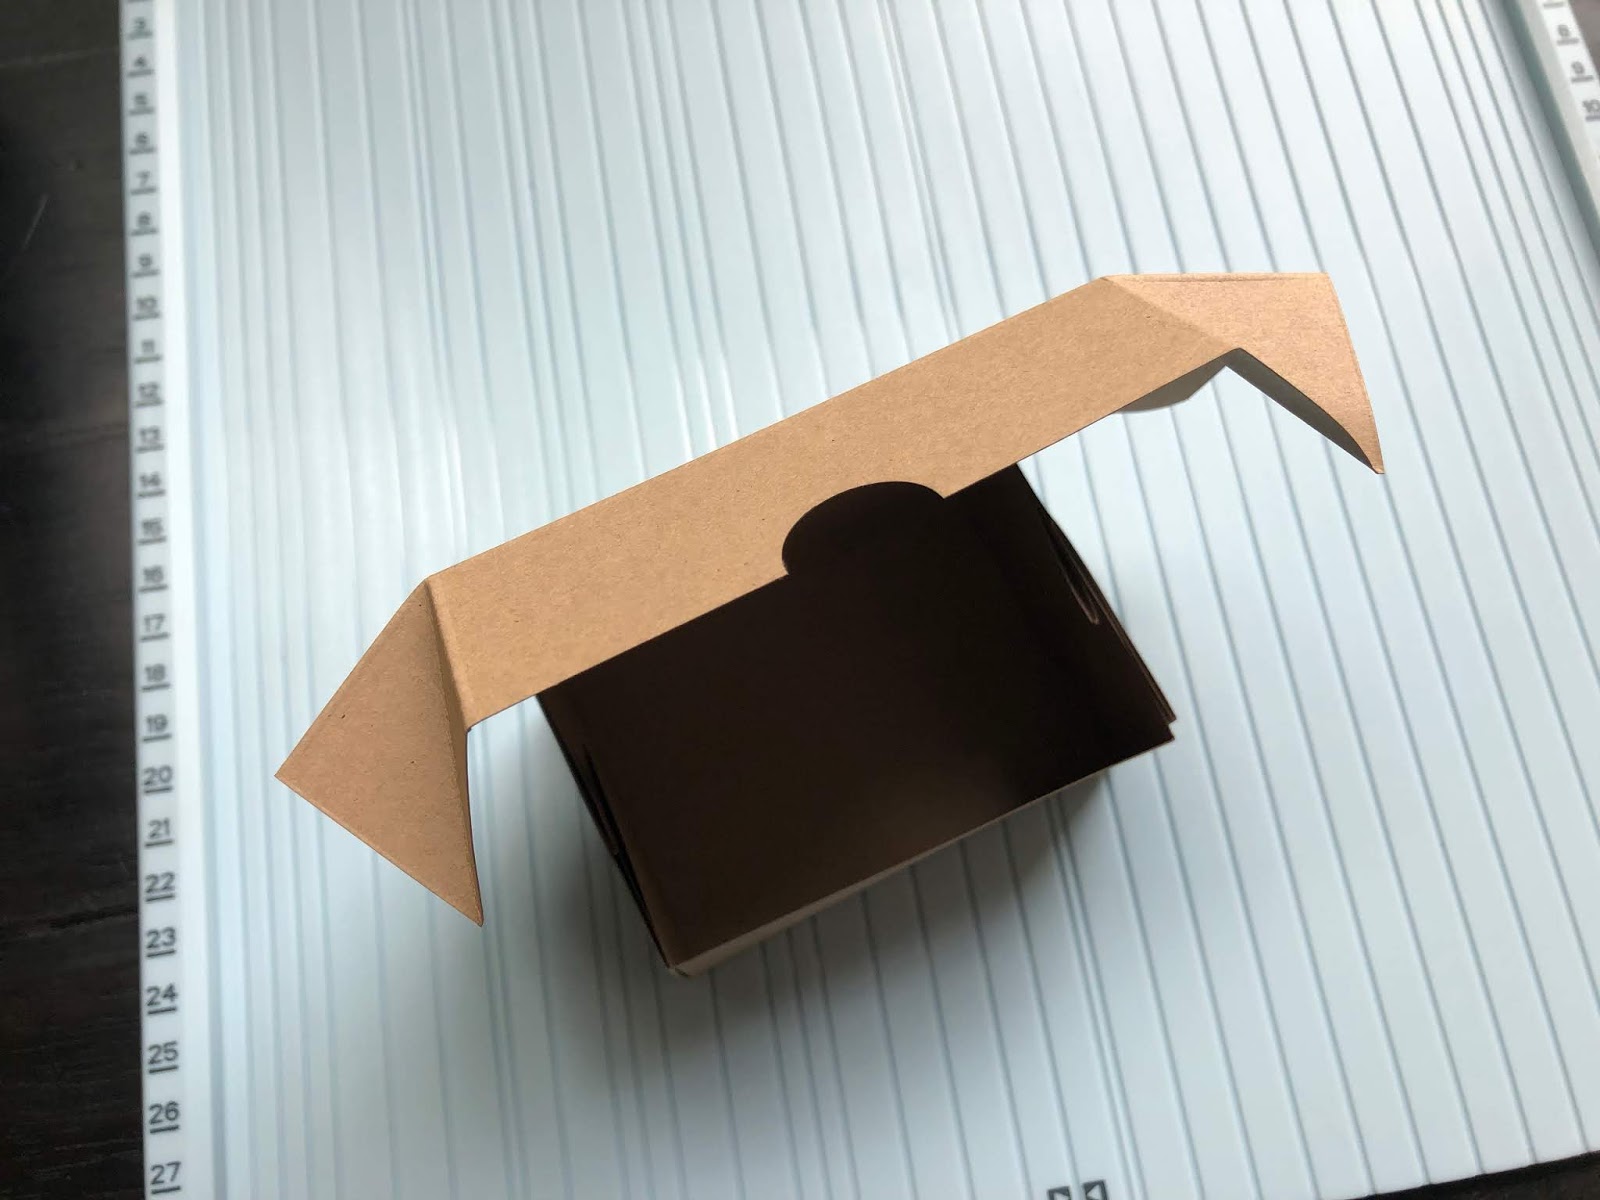
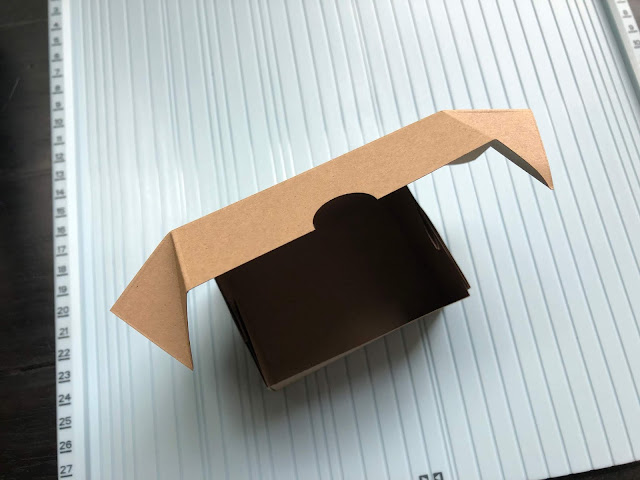
It is possible that you have a circle punch, and one of the joys of owning a circle punch is creating semi-circles on paper edges, also known as thumbholes for boxes.  Thumbholes are in all playing card boxes, so if you don't know what I'm talking about, look at one.  If you were to place thumbholes in your top box, the recipient of such a present would smile, but without authenticity.  For authentic thumbhole smiles, it is necessary to create attached lids.  You will need a piece of cardstock of dimensions (2W+2H+T+1/8) by (L+2H+1/4).


Step 3.2:
From one side of the (2W+2H+T+1/8) edge, score H, then (H+W), then (2H+W).  This is the outline to the bottom of your box.


Step 3.3:
From both sides of the (L+2H+1/4) edge, score (H+1/8) up to the (2H+W) mark.  Trim 1/8 off the sides you just scored.  These are edges for the bottom part of your box.


Step 3.4:
Cut along both sides of the (2H+W) mark until you get to the (H+1/8) marks.


Step 3.5:
For the remainder of the (2W+2H+T+1/8) edge, trim (H-T) from both sides.
Notice that you can skip this step if you chose T=H.  Also, if (H-T) ≥ 1/8, you could start with cardstock dimensions (2W+2H+T+1/8) by (L+2H) instead of (2W+2H+T+1/8) by (L+2H+1/4).
(See conclusion for more details.)


Step 3.6:
Score T from all 3 sides of your top.  Finish assembling and punch the thumbhole.
To make this box open more widely, simply skip using adhesive on the two joints connecting the box to its lid.




Step 4.1:
It would be so much nicer if the thumbhole went through two sheets, because that makes it easier to grab, so perhaps we should apply flaps to the attached box.  In this case, we would start with cardstock of dimensions (2W+3H+2T+1/8) by (L+4H+1/4).  Furthermore, if you remember our talk about responsibility, you also know you'll need an insert of dimensions (L) by (2W+H).  This is the fourth time we're building the same box, and the time has come for me to release you from under my wing.  No more writing.  Fly, my little chickadees.


Step 5.1:
It's possible you'd want to create an attached lid that is smaller instead of larger than the bottom box.  In this case, your top box would tuck in, and your thumbhole would be in the middle of the bottom box side, L by H.  An advantage to this style is the option to break the top sides into three flaps (with or without decoratively trimmed corners) that adhere with less friction, which is useful when the contents of your box are a cupcake with a swirl of icing that is not to be jostled.  Here's one with folded flaps in bright green for two mini margarita cakes with lime buttercream, not to be jostled.


For unattached top flaps, remove squares of length 2T from the top corners
instead of the usual L-shapes, which are pictured.


Boxes 1, 2, 3, 4, and 5

In conclusion, folded flaps like boxes 2, 4, and 5 create a smoother finish, rely less heavily on adhesive, and are necessary when the cardstock is thin.  Boxes 1 and 3 are much more paper efficient.  My personal favorite is box 3 with very thick cardstock, and now that we all know how to do it even when T=H, I'll write shorthand directions for box 3 where T = H-1/8.  Obviously, you can also adjust the measurement "1/8" depending on the thickness of your material and by how tightly you would like your lid to fit.

Cut your cardstock to (2W+3H) by (L+2H).
Line (2W+3H) up to the top of your score board.
From the left, score H, then W from there, then H from there.  From the right, score H-1/8.
Rotate the paper 90° counterclockwise so the bottom of your box is towards you.
From both the left and right sides, score H from the bottom edge up to the HWH line.
From both the left and right sides, score H-1/8 from the top edge down to the HWH line.
From both the left and right sides, cut a distance of H along the HWH line.
For the top part, I'd recommend a thumbhole centered in L and rounded corners in the back.

So easy and so fast

The whole time I was working on this, Milli made one too, and there's a lot of glue under the tape.  She's amazing.
Boxes 1, 2, 3, 4, 5, and 6

14 April 2019

Alli's Wedding

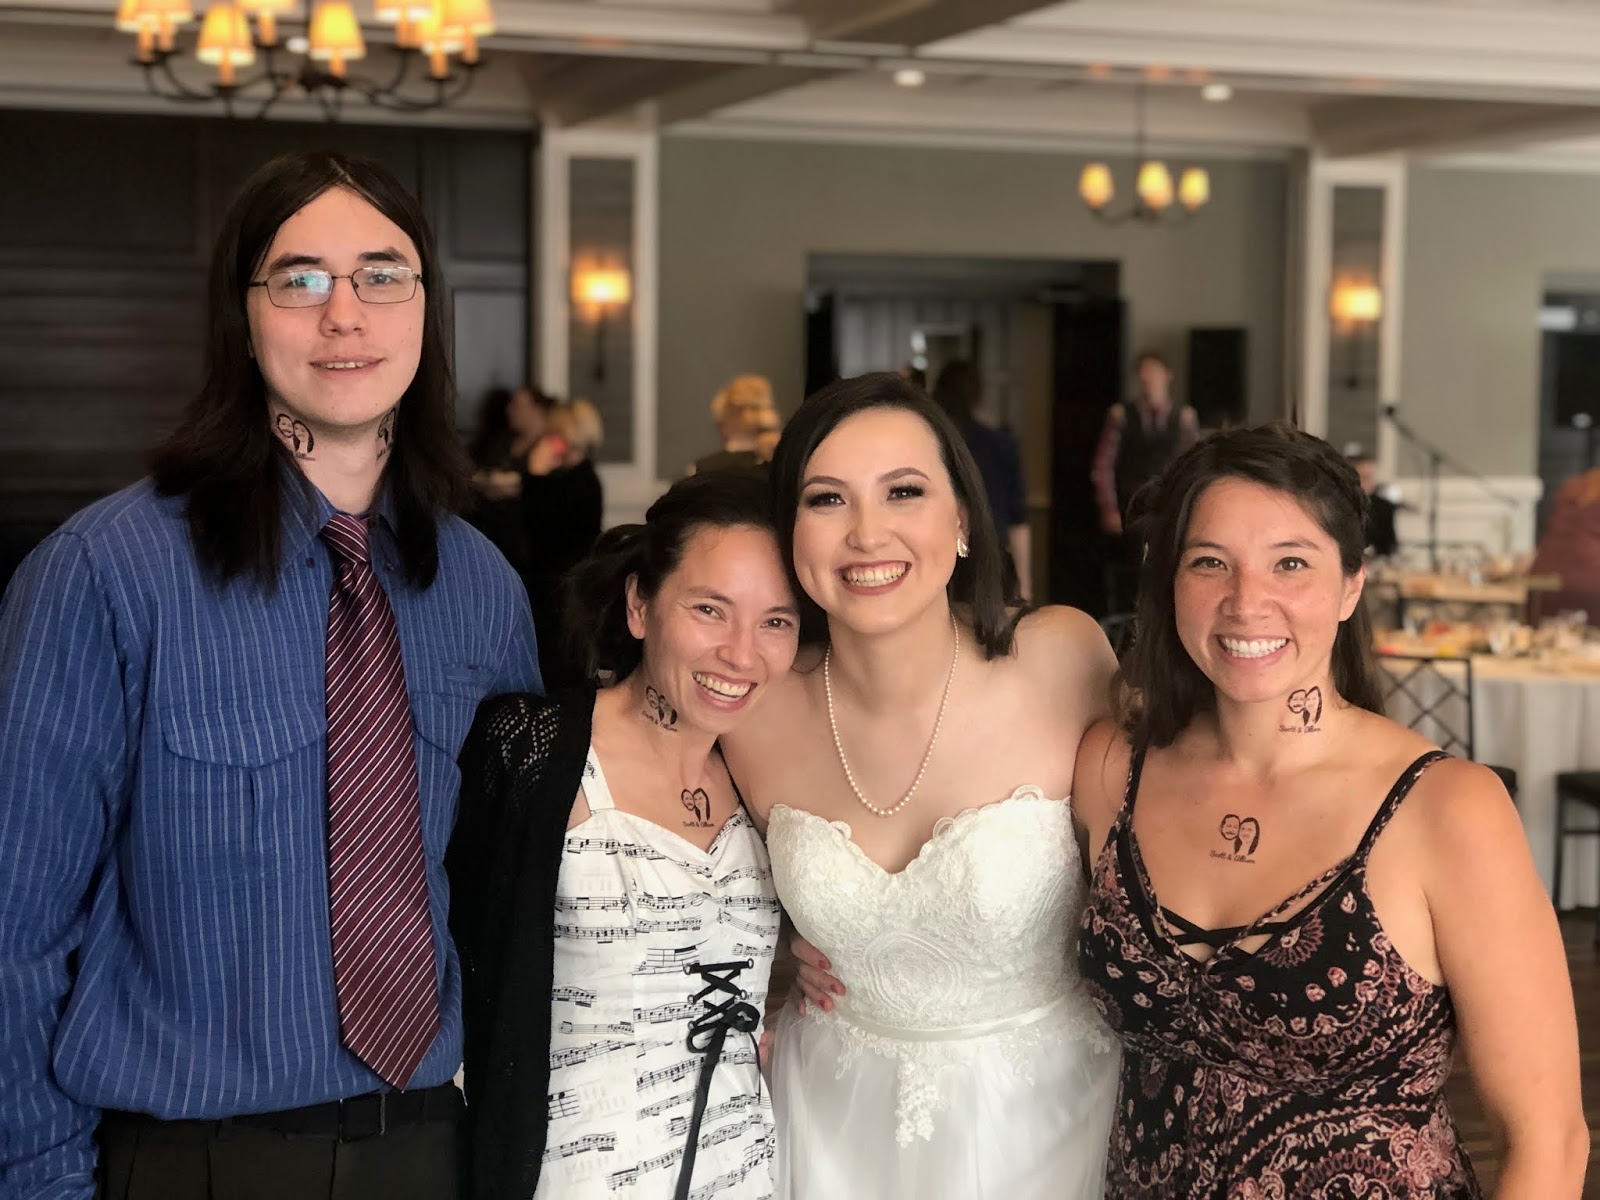
Alli's wedding was perfect.
Our suite, shared with my sister at the Hampton at Lincolnshire, was just a few minutes from the wedding at Chevy Chase Golf Course.  The venues were impressive.  Alli, who looked like a 5'11" half-Vietnamese Disney princess with 3-inch heels and perfect make-up, came down the aisle with her trying-not-to-cry face, which made all of us try not to cry.  Scott had trouble repeating everything the officiant said, so Alli said, "I got this" before her vows.  How adorable is she?
Neither Liên nor I had ever walked onto a wedding reception dance floor before, but Drakeson changed all of that.  I told him I couldn't go out there because I didn't know any dance moves, and he corrected me; I had just learned one.  You see, Drakeson had watched Liên teach me her newest tap move, crazy feet, the night before.  After I told him I would try, he said, "Now add the clapping."  I thought nothing could get me onto a dance floor, but a practice assignment by my son, my sister as a dance partner, and a couple of mimosas did the trick.
April 14th is not only the anniversary of Alli and Scott, but of Scott's parents and grandparents as well.  With so much magic in the air, springtime in Chicago presented a surprise snow storm.  Five inches fell, converting the grounds into a winter wonderland and delaying our return to Austin by 36 hours.  That's enough hours to require twice the rental car price, two additional nights at hotels, two days of missed school, and one missed swim practice.  After the initial panic, however, several silver linings were in store.
The "13123 group," as Dad so affectionately calls us, played board games and ate Potbelly with wine on Sunday night.  We Austinites were extra lucky, and spent all of Monday morning chatting and having breakfast with superstar princess bride Alli.  Monday afternoon was at Cô Mai's house with homemade Vietnamese food and exploring the beautiful Lake Arlington Park.  We drove back to Midway and checked into another Hilton for a little pool time, a real Chicago deep dish pizza, and a well deserved night of rest.
I started this post with a recap of Alli's wedding, because that was the point of this trip.  But Saturday, the day before the wedding, was worth remembering.  Tins, Bill, George, and I shared a couple Dragon's Milk bourbon barrel-aged stouts before starting the day, and I've since made it my personal mission to try the entire Dragon's Milk line.  Mom and Dad took care of the kids and even brought them to the rehearsal dinner while George and I walked around downtown Chicago.  For the first time in my life, I ordered a drink at a bar.  The bartender at Miller's Pub told me they were out of O'Hara's Irish stout, and recommended the Edmund Fitzgerald porter, which went a long way for a little lady who had Dragon's Milk for breakfast.  We met my dear friends Sarah and Miriam as well as BLT at the Himalayan, enjoyed a decadent and leisurely dinner, and took the city in before seeing the American Ballet Theatre's performance of Whipped Cream.  We had box tickets at the ornate Auditorium Theatre, which was built in 1889.  There is so much to say about the show that it's almost impossible to start, but suffice it to say that the costumes and set were so spectacular that tears ran down my face.
What an incredible trip.  What a great family I have.  Alli, I wish you a lifetime of happiness, and I am so proud to be your cousin.  I love you and admire you more than you know.

Cousins

Drakeson & Alli

Milli & Alli

Snow

Hair

Family

Hawaiians in Snow

Daughters

Sisters

Ladies

Crazy Feet

09 April 2019

How To Make An Envelope Cheats

My sister was the first (and admittedly the only) person to correctly derive the equations at the end of the envelope post.  Her prize, a card in an envelope, had the following chart printed in it.  If this chart of numbers doesn't strike you as handy, surely the envelope names on the left do.  If not that, you'd have to smile when I casually drop the fact that most manufactured cards will fit perfectly in an A2, A6, or A7.  But if you've gotten this far and your eyebrows haven't moved a bit, you've really lost your way.  You must accidentally be reading the wrong blog.


Envelope Name
(inches)
Δ Sides A, B, C
(centimeters)
Height
2AB/C
Base
C + √(C²−H²)
A2 Lady Grey (4.375 x 5.75)
12.1, 15.6, 19.7
19.2
24.1
A4 Card (4.25 x 6.25)
11.8, 16.9, 20.6
17.9
30.8
A6 Thompson’s Standard (4.75 x 6.5)
13.1, 17.5, 21.9
20.9
28.4
A7 Besselheim (5.25 x 7.25)
14.3, 19.4, 24.1
23.0
31.3
A8 Carr’s (5.5 x 8.125)
15.0, 21.6, 26.3
24.6
35.6
A9 Diplomat (5.75 x 8.75)
15.6, 23.2, 28.0
25.9
38.6
Square (5 x 5)
13.7, 13.7, 19.4
19.4
19.4
#10 Tairy Greene (4.125 x 9.5)
11.5, 25.1, 27.6
20.9
45.6
#6 1/4 Standard (3.5 x 6)
9.9, 16.2, 19.0
16.9
27.7
#6 3/4 Standard (3.625 x 6.5)
10.2, 17.5, 20.3
17.6
30.4

PS.  Once you have your rectangle, remember to measure C along the bottom edge from the left.  Cut a line from this mark to the top right corner.  You can use this new triangle as a template for the right side to complete your rhombus.

29 March 2019

How To Make An Envelope

If you know how to make an envelope, you can make one that matches your paper bag.  That seems important.

The previous post was done in centimeters, and there's no use in stopping now.  Assuming we would like each of the four corners of your envelope to cross the center point of the card by 1 centimeter, you will need:
1.  Your card of dimensions L by W
2.  A rectangular piece of paper of dimensions (L+1) by (W+1)
3.  A larger rectangular piece of paper; (2L+2) by (2W+2) is plenty*
4.  A ruler
5.  A pencil
6.  Paper cutting devices (paper cutter, scissors, craft knife, etc.)
7.  Some form of adhesive (tape, glue stick, etc.)

Optional materials include:
1.  Address labels
2.  Postage stamps
3.  Circular objects for rounded edge tracing
4.  Decorative paper cutting devices (paper edge punchers, nail clippers, etc.)
5.  Decorations (stickers, stamps, calligraphy, etc.)


Step 1:
Trace the diagonal on your (L+1) by (W+1) rectangle and cut along this line.  This will be your measuring triangle.  Label the smallest side A, the middle side B, and the hypotenuse C.


Step 2:
Arrange the larger piece of paper so that the pretty side is facing down.  If one side is longer than the other, place that side going left to right and the shorter side going up and down.  With your measuring triangle, align C to the bottom edge starting at the left corner, so that B is on the left and A is on the right.  Lightly mark where the three angles touch the paper.  We'll call this the starting position.


Step 3:
From the starting position, rotate the triangle about side A and mark angle BC on your paper.
From the starting position, rotate the triangle about side B and mark angle AC on your paper.
You now have 4 points that outline a rhombus with one point in the center.
Cut out your rhombus, taking care to ensure that your opposite sides are parallel.


Step 4:
Rotate your rhombus so that the corners are facing left, right, up and down.  Place your card facing normally in the center of the rhombus and fold each corner of the rhombus around the card towards the center.


Step 5:
These folds will have made four small right triangles towards the midpoints of the edges of your rhombus.  Cut and remove these triangles.  You may widen the triangles, but take care not to cut further inwards than the 90° point.  Trim the edges to your liking.
In the picture below, I have used nail clippers to round the edges, centered the card lower than the midpoint, trimmed the right flap, and traced a cup as a guide to round off the top.  All of this is simply to say you've got options.


Step 6:
Seal the bottom flap over the two sides, finish decorating, insert your card, and seal your envelope.  I like to use upwards facing tape to seal my envelopes.


If your piece of paper is smaller than that, and you want to know if it's large enough, the actual dimensions are: √[(L+1)²+(W+1)²] + √{[(L+1)²+(W+1)²]-[(4)(L+1)²(W+1)²]/[(L+1)²+(W+1)²]}
by (2)(L+1)(W+1)/(√[(L+1)²+(W+1)²]).
If you can tell me how those are derived, I'll mail you a congratulatory card in a handmade envelope with a beautiful stamp.  That last part is easy, for I only buy beautiful stamps.

PS.  A limiting factor for making your own envelopes is the idea that time is precious and envelopes aren't.  Fear not.  After your first envelope, you could try making your next without a measuring triangle by using your ruler and your card to mark rhombus points.  (And since you're an expert, if you'd like your envelope to overlap more in one direction than the other, you could adjust your measuring triangle or your imaginary measuring triangle accordingly.)  By skipping the measuring triangle and the trim steps, you could have a customized envelope on your hands in less than a minute.  Additionally, if you have several cards of the same size, you could keep one good rhombus template for them all.  Give it a try!

27 March 2019

How To Make A Paper Bag

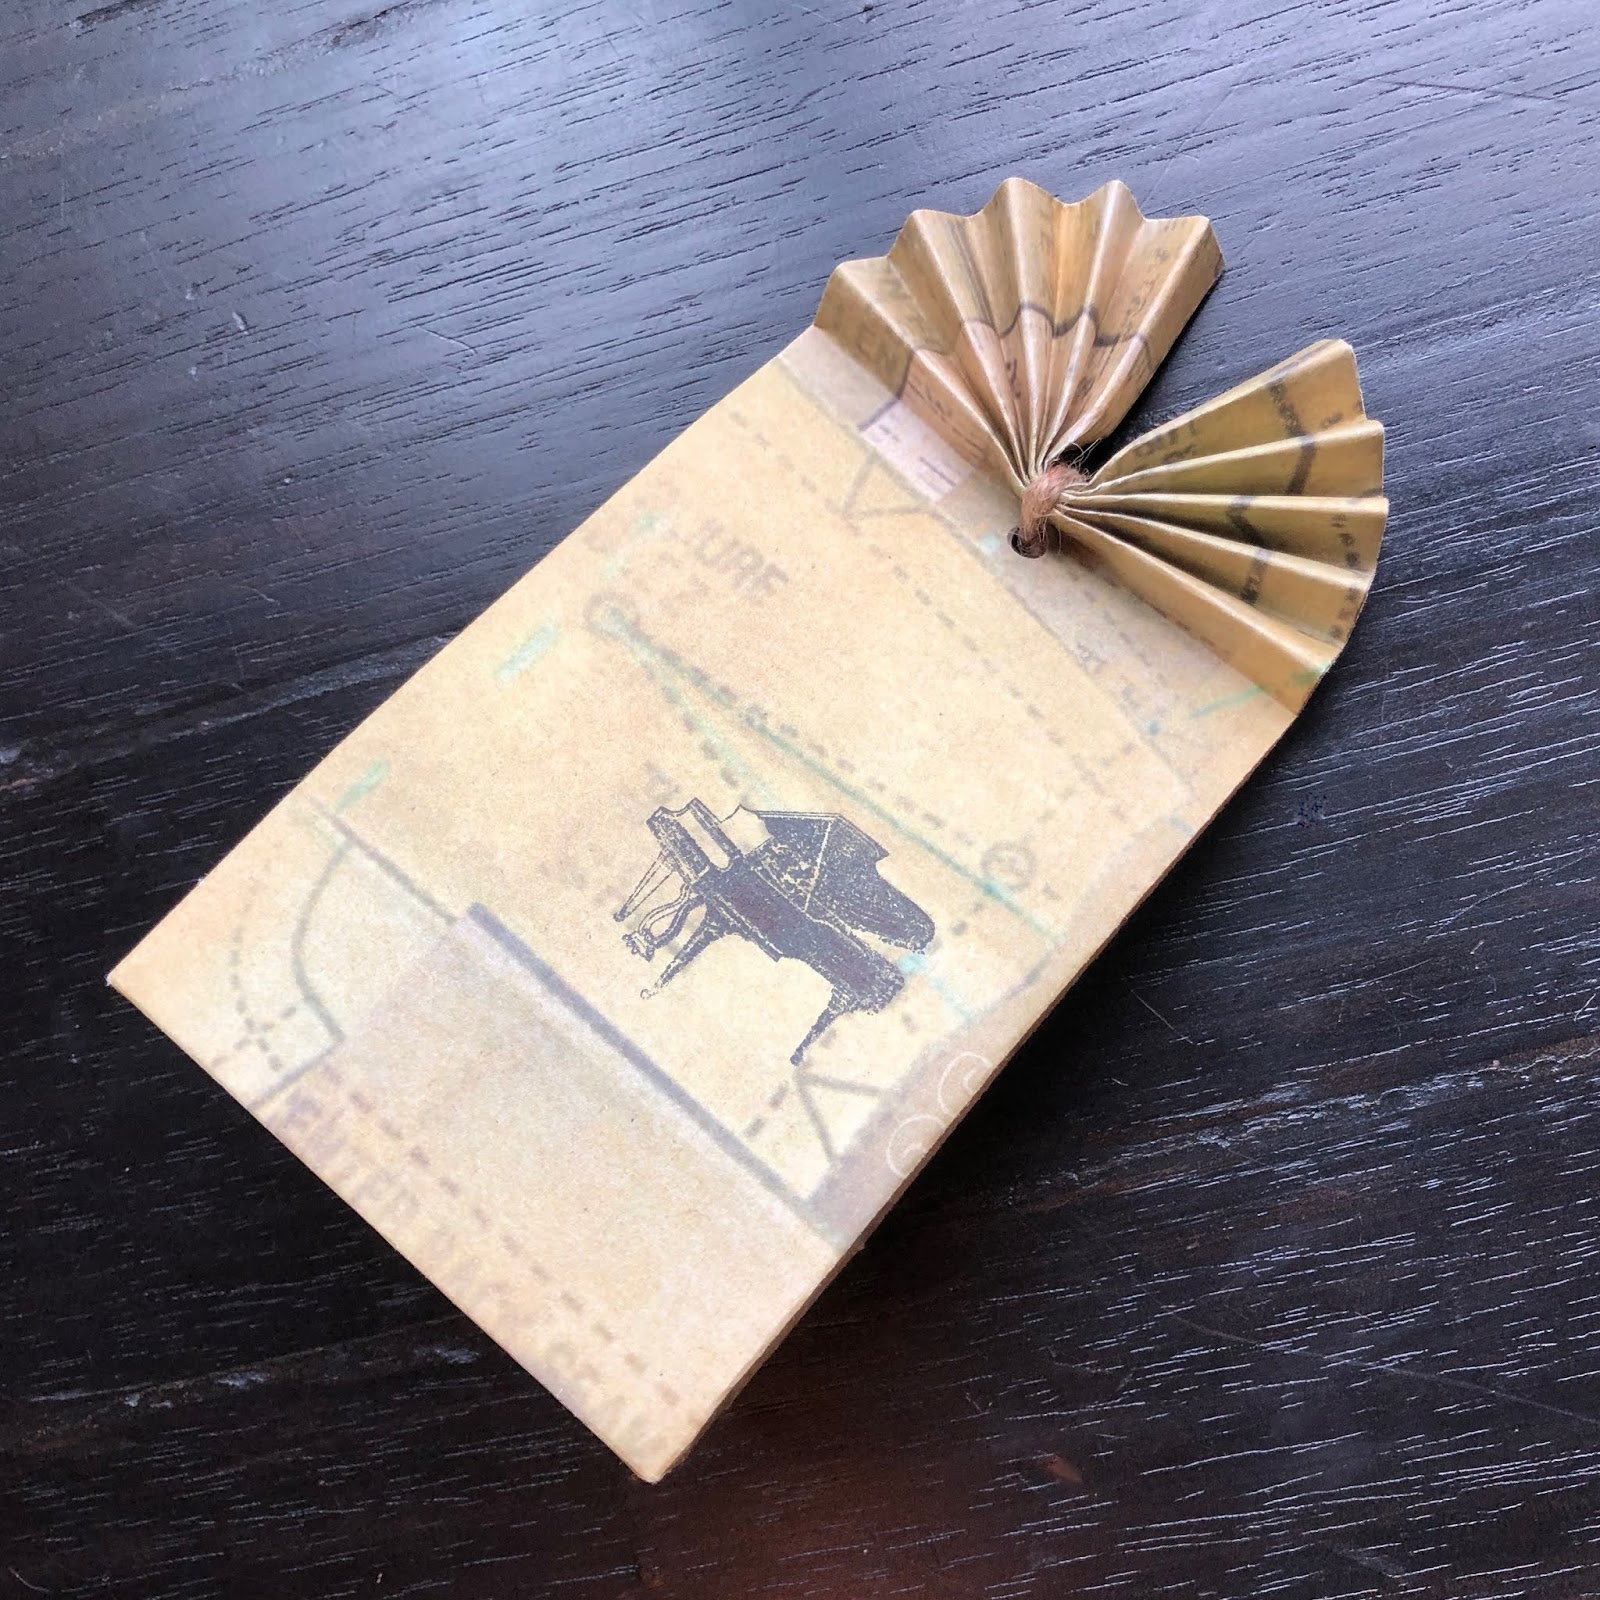
In this tutorial, we will learn how to make a paper bag in the dimensions of your choosing.  This is important for the times your sister is throwing a bridal shower, and rather than recommend "small" or "medium" bags for her party favors, you would rather send her this post.  Also, we're going to do this not in inches but in centimeters, because sometimes you have to choose between being patriotic and being right.

The bag of your dreams has three dimensions.
Let's call the height H.  There are two dimensions forming the rectangle at the bottom of the bag, so let's make one longer than the other by at least 1 centimeter, and call the longer of the two L.  The shorter one will be W.

Assuming we would like an overlap of 1 centimeter for seams*, you will need:
1.  A piece of paper of dimensions (2L+2W+1) by (H+W/2+3/2)
2.  A ruler
3.  A pencil for lightly marking measurements
4.  A blunt pointy object for tracing creases (olive skewer, pen that doesn't work, etc.)
5.  Some form of adhesive (glue stick, double sided tape, etc.)

Optional materials include:
1.  A thin cardboard or paper insert of dimensions L by W
2.  Handles (paper, twine, ribbon, etc.)
3.  Adhesive for handles (glue and strips of paper, tape, hole punch, etc.)
4.  Decorations (stickers, stamps, paper cutouts, etc.)


Step 1:
Place your rectangle in front of you so that (2L+2W+1) is going left to right, (H+W/2+3/2) is going up and down, and the prettiest side of the paper is facing down.  The edge furthest away from you is the top of the bag, and we're going start by folding a stabilizing border.  Using your blunt object, trace your ruler and lightly press a horizontal line into the paper 1 centimeter down from the top edge.  Fold down towards you along this indentation.


Step 2:
Using two points of measurement to ensure accuracy, measure [(L+W)/2+1/2] from the left side of the rectangle, make an indentation along this vertical line, and fold towards the center.  Do the same on the right side.  The pretty side of the paper is now the outside of the bag, and there should be an overlapping seam in the middle.  Seal it.


Step 3:
Using two points of measurement to ensure accuracy, measure (W/2) from the left, make a vertical indentation, and fold towards the center.  Do the same on the right side.  Open these folds and invert the step 2 folds so they are inside the bag and flatten.  Open these folds again.


Step 4:
Using two points of measurement to ensure accuracy, measure (W+1/2) up from the bottom of the rectangle, make a horizontal indentation, and fold upwards.  Unfold.  Fold the bottom left corner up so that it meets this crease and forms an isosceles right triangle.  Do this with the right corner.  Unfold both triangles.


Step 5:
Using the horizontal crease and both triangles, open the top layer and flatten upwards.  This is called a squash fold.


Step 6:
Using the folds you made in step 3 as a guideline, measure (W/2+1/2) up from the bottom of the squash fold, make a horizontal indentation, and fold upwards.  Fold the top flap of the squash fold downwards by the same dimensions.  You should have a 1 centimeter overlapping seam in the middle of the bottom of your bag of length (L-W).  Seal it, along with the four overlapping triangles on the bottom of the bag.  In fact, if you would like to insert the bottom cardboard under these flaps before sealing, you could glue both flaps down in their entirety.*


Step 7:
Refold the step 3 folds towards the center of the bag.  Open the bag and invert the sides from step 2 once again, taking care to maintain crisp, neat edges towards the bottom of the bag and also along the top border.


Step 8:
If desired, decorate, line the bottom with a cardboard insert, and attach handles.  Maybe make a bunch for some people attending bridal parties; I don't know.  I'm not good at that part.


* If you don't like the gap left by the squash fold, you could to widen your overlapping seam from 1 to (L-W).  This means your new equations would be transformed as follows:
2L+2W+1
becomes
3L+W,
H+W/2+3/2
becomes
H-W+3L/2,
(L+W)/2+1/2
becomes
L,
W/2
stays
W/2,
W+1/2
becomes
W/2+L/2, and
W/2+1/2
becomes
L/2.

PS.  A limiting factor for making your own paper bags is that (2L+2W+1) is rather large.  However, there is no need to give up!  Using a thicker selection of wrapping paper, a few layers of newspaper, or even gluing several pieces of paper together to extend the width of your rectangle can solve this problem.  Good luck!