You will need:
1. A standard 8.5 by 11" piece of paper
2. A paper cutter
3. A bone folder
4. A 25 mm wide piece of tape cut to 30 mm and very sharp clean scissors*
5. A ruler, a protractor, and extra cardboard
6. A clip to hold your airplane while you tape it
*I wrote to Mr. Collins to ask him why he uses this quantity of tape, and to my amazement, he wrote me back immediately! This is the maximum amount of tape allowed by Guinness rules. I'll tell you how to work with 30 mm of tape, but I'll be using smiley face stickers instead because:
a. I'm lazy, and particularly lazy about getting very sharp clean scissors
b. You can see the placement of smiley face stickers better than tape
c. Smiley face stickers are more fun
d. I don't think I'll be breaking the world record today. Maybe tomorrow.

Dogfish Head Punkin Ale
Step 1:
Make two cardboard templates.
The first measures 30 mm.
The second measures a 155° angle and a 165° angle.

Measuring Jigs
Step 2:
Use your paper cutter to slice 19 mm from the 8.5" side.

19 mm
Step 3:
The first two folds are square diagonal folds. Always reinforce creases with the bone folder.

Square Diagonal
Step 4:
Orienting your paper so the square is at the top, each of your right angles are bisected into 45° angles. Imagine bisecting the two 45° angles on the bottom right and left sides of the square. Now fold nearly along these angles, leaving an extra 1 mm of paper between the sides of the paper and the creased diagonals. This is not a drill, so unfold one side before folding the other.

Square at the Top

1 mm Between Paper and Creases
Step 5:
Using the bone folder, uncrease the original 45° folds towards the top of the paper. Along the point where the two sides of the paper meet, fold the top of the paper down symmetrically. The creases of the 22.5° angles on the back and front of your paper will line up.

Uncrease Top

Point Where 2 Sides Meet

22.5° Lines Aligned and Traced
Step 6:
With the top still folded down, refold each 22.5° crease one at a time and release. Refold them downwards at the same time.

Refolded
Step 7:
Turn the paper airplane over and fold in half, lining up rear corners and bisecting the nose.

Fold in Half
Step 8:
To fold the wings, start about 4 mm from the tip of the nose and bring the wing down until the center bottom point on the back of the body just disappears under the wing.

Square Corner Underneath Just Covered

Both Wings
Step 9:
Lift the wings slightly upwards so that the dihedral angle at the nose is 165°. The angle should measure 155° in the middle of the wings.

Towards the Nose

Middle of the Wings. Dihedral is a New Word For Me
Step 10:
Using the 30 mm jig, measure out 30 mm of 25 mm wide tape. Cut 2 mm from the 30 mm and seal both sides of the central seam on the bottom of the body.

Blue 1
Step 11:
Cut another 2 mm from the 28 mm of remaining tape and seal both sides of the upper seam on the bottom of the body. This seam is at a diagonal, and your tape, like last time, must fold across it perpendicular to the bottom of the plane.

Blue 2
Step 12:
Cut another 2 mm from the 26 mm of remaining tape. Cut the tape in half by width. Using the 30 mm jig, start applying one half of the tape 30 mm from the point where the wing creases into the body, and cover the seam for the length of the tape, 12.5 mm, moving outwards towards the edge of the wing. Repeat with the other half piece on the other wing.

Green 1 & 2
Step 13:
Cut two more 2 mm pieces from the 24 mm of remaining tape. Lengthwise, fold the tape in half, sealing the top back edge of the tail. I'm not making this up, and the original video uses 1 mm. Repeat for the bottom back edge of the tail so the entire tail is sealed with two outrageously narrow strips of tape.

Orange 1 & 2
Step 14:
Cut another 2 mm from the 20 mm of remaining tape. Cut 4 mm from the width and use this tiny 2x4 mm to secure the very back end of the wings over the tail together.

Red 1
Step 15:
Bisect the remaining piece of tape, which is 2 by 21 mm, by width and flip the plane back over so that the body is again pointing upwards. Use each half to secure the wing seams at the very outer edges of the plane.

Green 3 & 4
Step 16:
Cut 4 mm from the 18 mm of remaining tape. Cut a square of tape from one end and wrap it around the top of the nose.

Black Strip on the Nose
Step 17:
Bisect the remaining piece of tape, which is 4 by 21 mm, by width. Use one piece to close in the bottom of the plane under the nose just behind where the wings meet the body. The tape will ride up the body just over 5 mm on each side. Use the second piece to do the same, but at the halfway point between the tape just placed and the second tape placed over the folded seam. In our case, this was Blue 2.

Blue 3 & 4
Step 18:
Cut two 3 mm pieces from the 14 mm of remaining tape. With the body pointing upwards, secure the top folds of the wings down where they meet the body. The tape will also secure the second layer of paper underneath.

Green 5 & 6
Step 19:
Take the remaining 8 mm piece of tape and cut it into two 4 mm strips. Double check that the dihedral angle at the nose is at 165° and the middle of the wings is 155°. Secure the wings to each other about 1.5 cm from the tip of the nose so that the tape extends towards the edges on each side by 12.5 mm. Repeat with the second piece of tape another cm down the body.

Dihedral - having or contained by two plane faces. Such a lovely word.

Red 2 & 3
Step 20:
Adjust the back points of the wings so they are bent slightly upwards to encourage the nose to point downwards. Enjoy your airplane! This model was designed by John Collins with distance in mind, and this video shows the 2012 world record throw.

Wings Bent Upwards
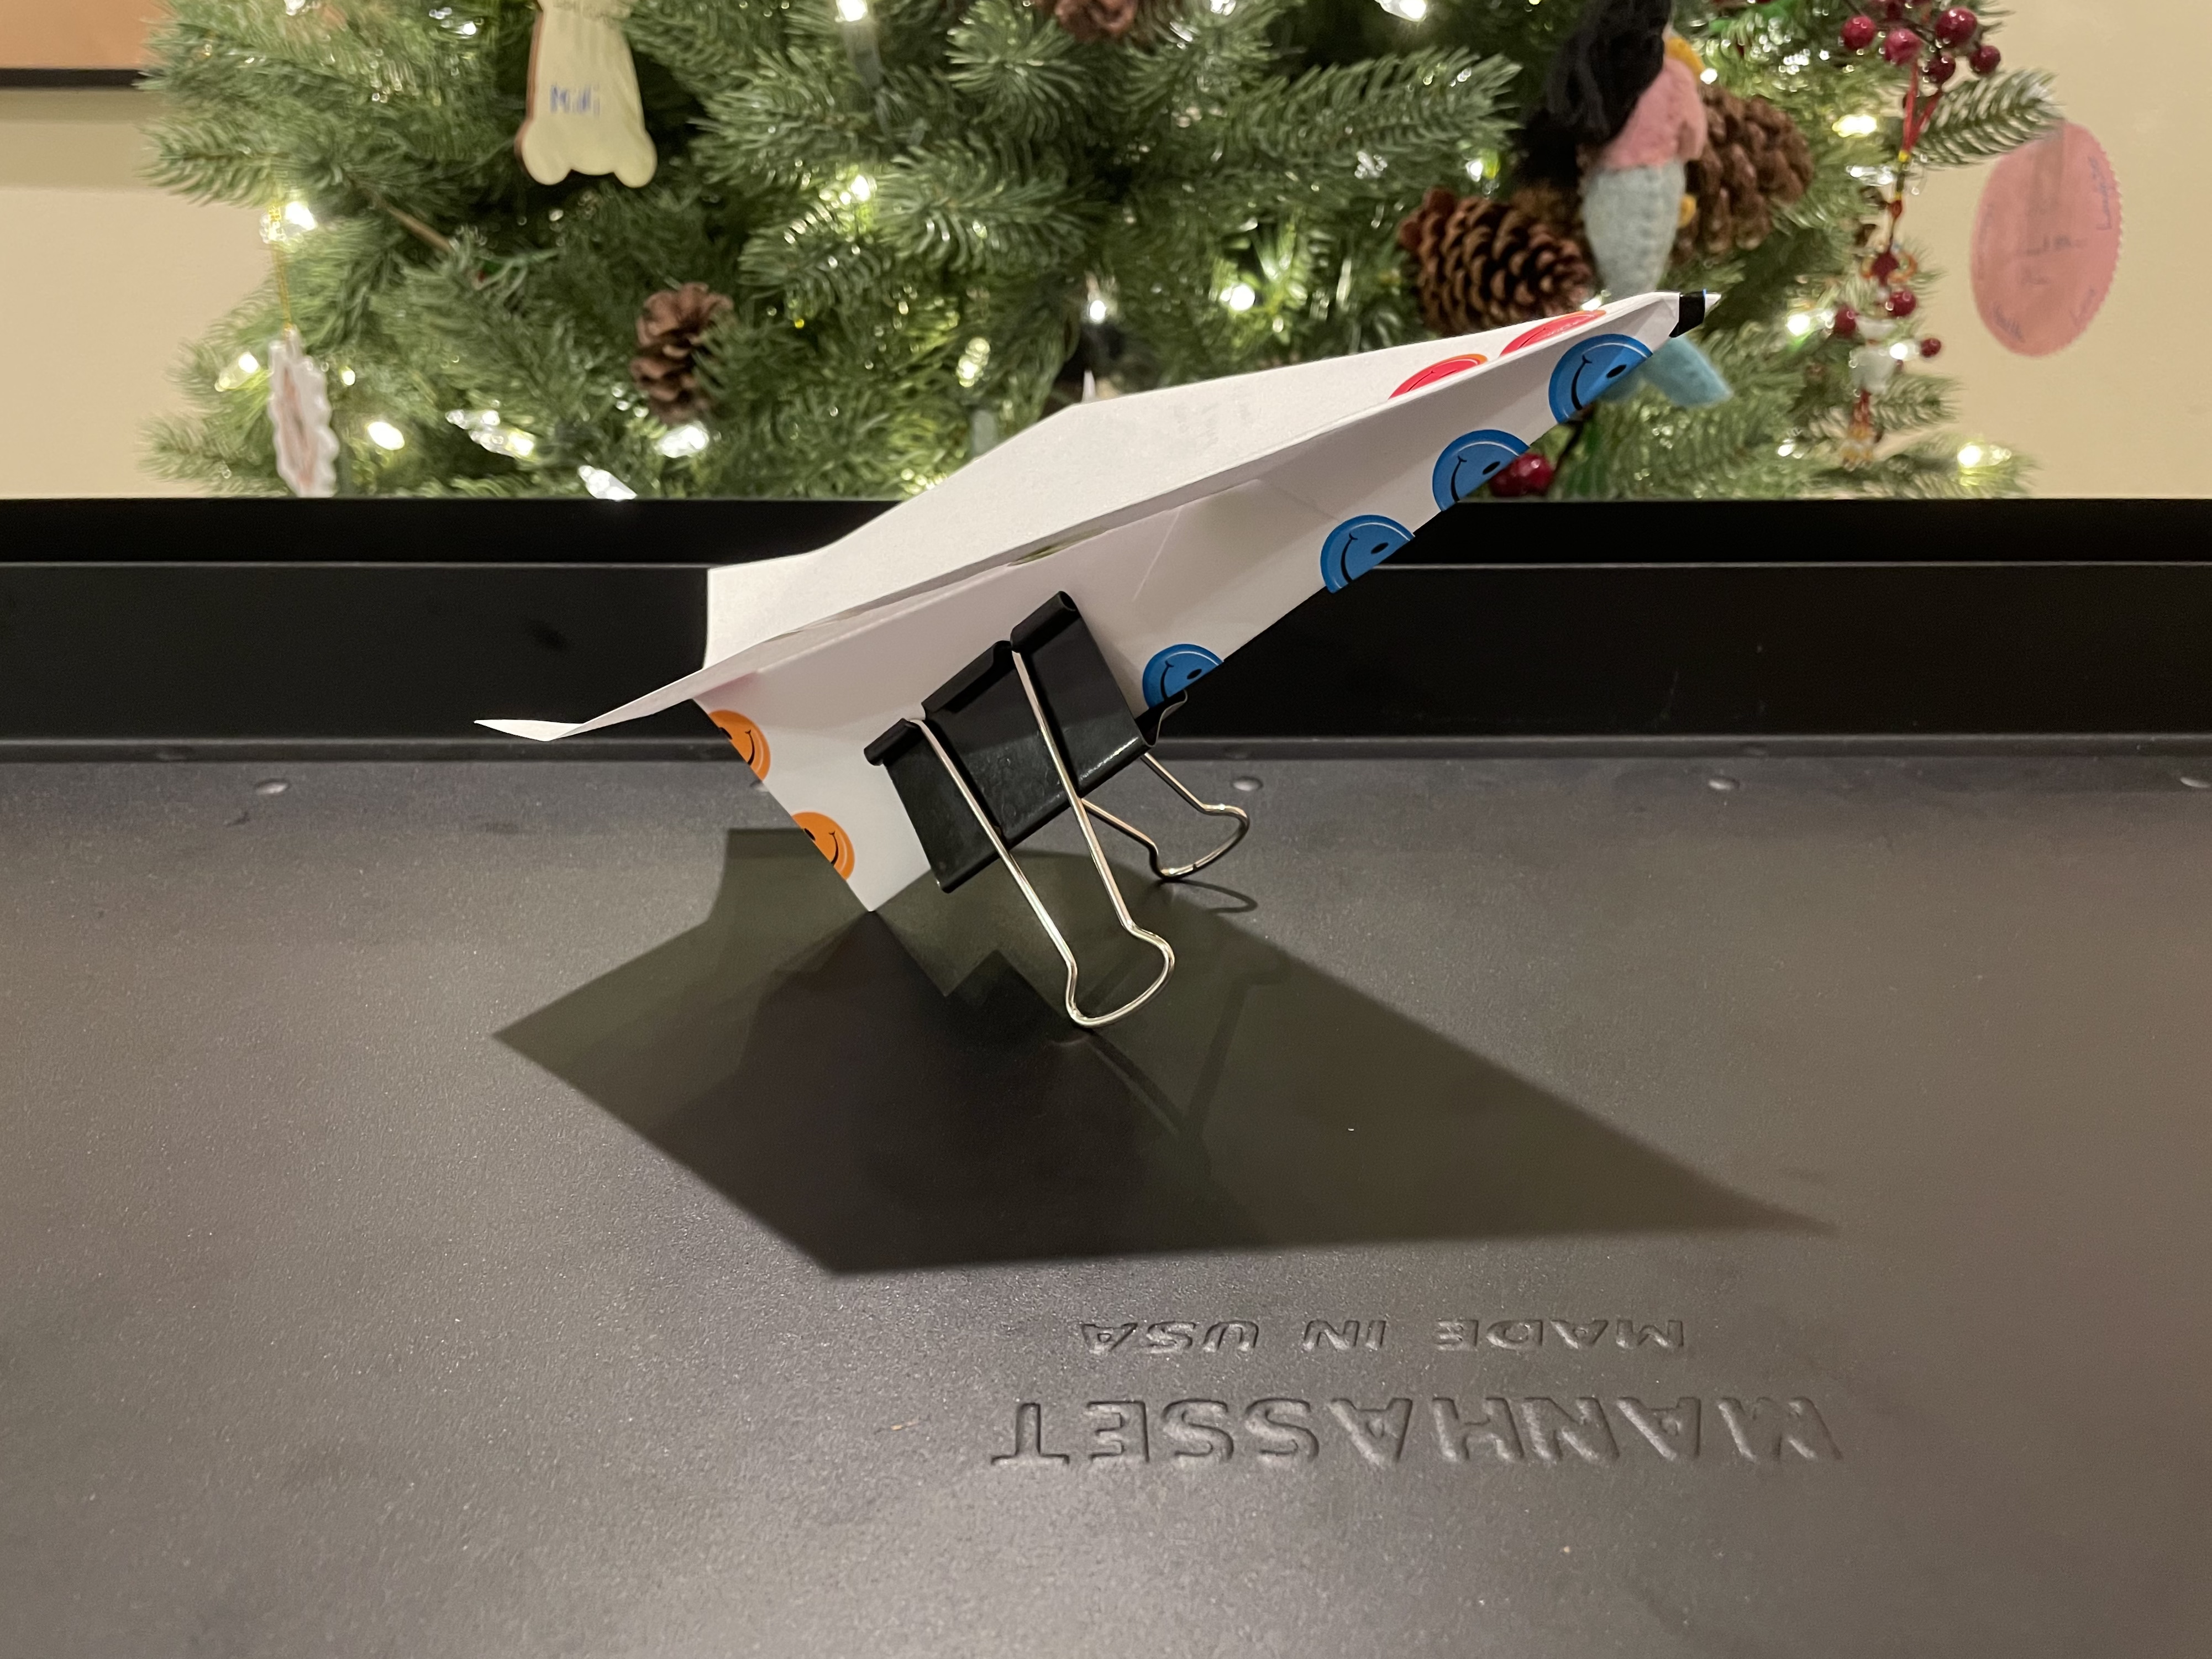
Happy Flying!
No comments:
Post a Comment