29 March 2019

How To Make An Envelope

If you know how to make an envelope, you can make one that matches your paper bag.  That seems important.

The previous post was done in centimeters, and there's no use in stopping now.  Assuming we would like each of the four corners of your envelope to cross the center point of the card by 1 centimeter, you will need:
1.  Your card of dimensions L by W
2.  A rectangular piece of paper of dimensions (L+1) by (W+1)
3.  A larger rectangular piece of paper; (2L+2) by (2W+2) is plenty*
4.  A ruler
5.  A pencil
6.  Paper cutting devices (paper cutter, scissors, craft knife, etc.)
7.  Some form of adhesive (tape, glue stick, etc.)

Optional materials include:
1.  Address labels
2.  Postage stamps
3.  Circular objects for rounded edge tracing
4.  Decorative paper cutting devices (paper edge punchers, nail clippers, etc.)
5.  Decorations (stickers, stamps, calligraphy, etc.)


Step 1:
Trace the diagonal on your (L+1) by (W+1) rectangle and cut along this line.  This will be your measuring triangle.  Label the smallest side A, the middle side B, and the hypotenuse C.


Step 2:
Arrange the larger piece of paper so that the pretty side is facing down.  If one side is longer than the other, place that side going left to right and the shorter side going up and down.  With your measuring triangle, align C to the bottom edge starting at the left corner, so that B is on the left and A is on the right.  Lightly mark where the three angles touch the paper.  We'll call this the starting position.


Step 3:
From the starting position, rotate the triangle about side A and mark angle BC on your paper.
From the starting position, rotate the triangle about side B and mark angle AC on your paper.
You now have 4 points that outline a rhombus with one point in the center.
Cut out your rhombus, taking care to ensure that your opposite sides are parallel.


Step 4:
Rotate your rhombus so that the corners are facing left, right, up and down.  Place your card facing normally in the center of the rhombus and fold each corner of the rhombus around the card towards the center.


Step 5:
These folds will have made four small right triangles towards the midpoints of the edges of your rhombus.  Cut and remove these triangles.  You may widen the triangles, but take care not to cut further inwards than the 90° point.  Trim the edges to your liking.
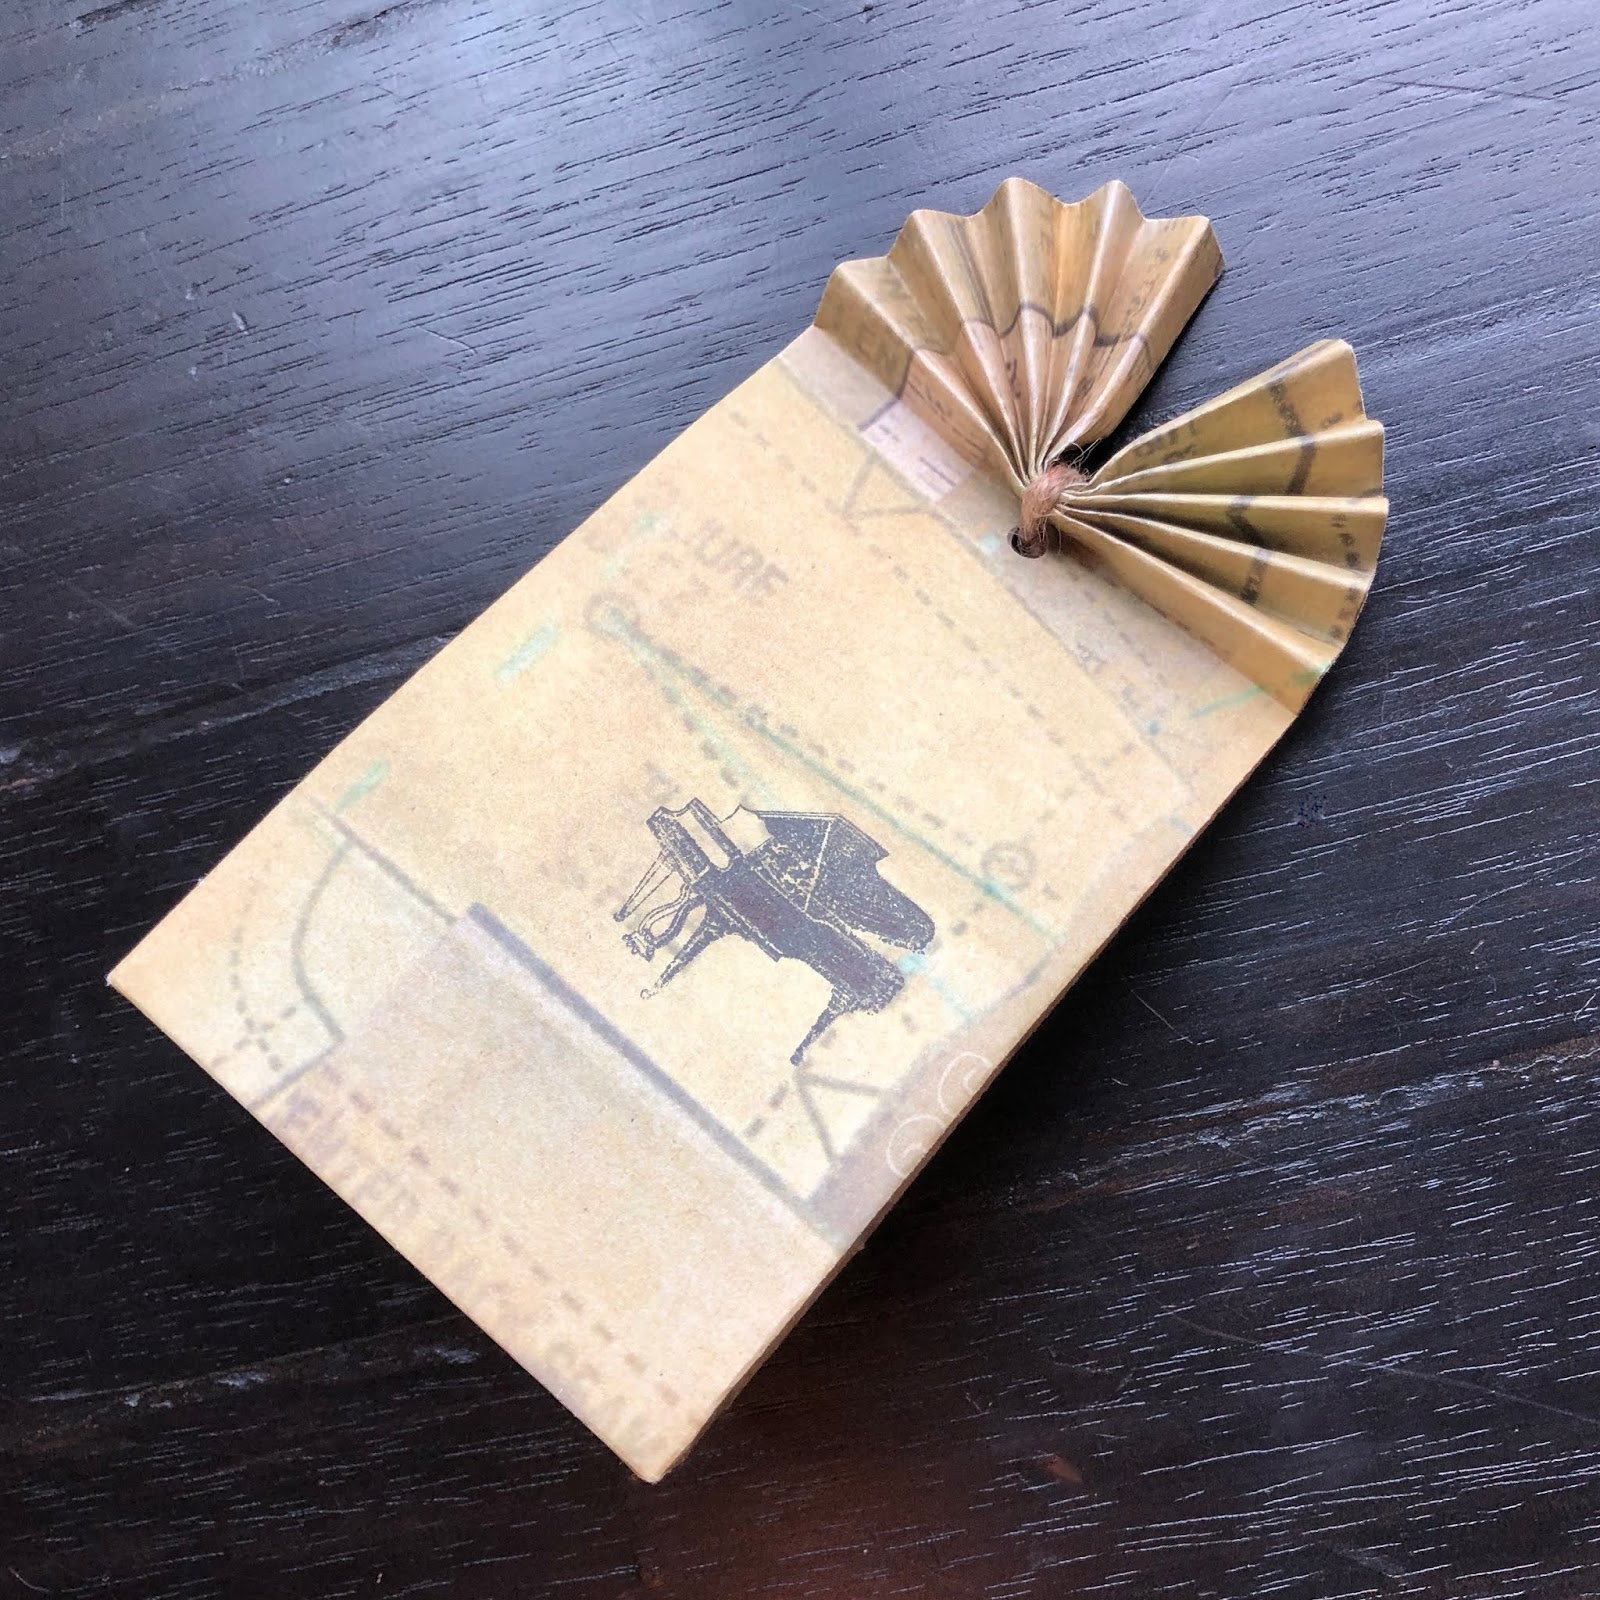
In the picture below, I have used nail clippers to round the edges, centered the card lower than the midpoint, trimmed the right flap, and traced a cup as a guide to round off the top.  All of this is simply to say you've got options.


Step 6:
Seal the bottom flap over the two sides, finish decorating, insert your card, and seal your envelope.  I like to use upwards facing tape to seal my envelopes.


If your piece of paper is smaller than that, and you want to know if it's large enough, the actual dimensions are: √[(L+1)²+(W+1)²] + √{[(L+1)²+(W+1)²]-[(4)(L+1)²(W+1)²]/[(L+1)²+(W+1)²]}
by (2)(L+1)(W+1)/(√[(L+1)²+(W+1)²]).
If you can tell me how those are derived, I'll mail you a congratulatory card in a handmade envelope with a beautiful stamp.  That last part is easy, for I only buy beautiful stamps.

PS.  A limiting factor for making your own envelopes is the idea that time is precious and envelopes aren't.  Fear not.  After your first envelope, you could try making your next without a measuring triangle by using your ruler and your card to mark rhombus points.  (And since you're an expert, if you'd like your envelope to overlap more in one direction than the other, you could adjust your measuring triangle or your imaginary measuring triangle accordingly.)  By skipping the measuring triangle and the trim steps, you could have a customized envelope on your hands in less than a minute.  Additionally, if you have several cards of the same size, you could keep one good rhombus template for them all.  Give it a try!

27 March 2019

How To Make A Paper Bag

In this tutorial, we will learn how to make a paper bag in the dimensions of your choosing.  This is important for the times your sister is throwing a bridal shower, and rather than recommend "small" or "medium" bags for her party favors, you would rather send her this post.  Also, we're going to do this not in inches but in centimeters, because sometimes you have to choose between being patriotic and being right.

The bag of your dreams has three dimensions.
Let's call the height H.  There are two dimensions forming the rectangle at the bottom of the bag, so let's make one longer than the other by at least 1 centimeter, and call the longer of the two L.  The shorter one will be W.

Assuming we would like an overlap of 1 centimeter for seams*, you will need:
1.  A piece of paper of dimensions (2L+2W+1) by (H+W/2+3/2)
2.  A ruler
3.  A pencil for lightly marking measurements
4.  A blunt pointy object for tracing creases (olive skewer, pen that doesn't work, etc.)
5.  Some form of adhesive (glue stick, double sided tape, etc.)

Optional materials include:
1.  A thin cardboard or paper insert of dimensions L by W
2.  Handles (paper, twine, ribbon, etc.)
3.  Adhesive for handles (glue and strips of paper, tape, hole punch, etc.)
4.  Decorations (stickers, stamps, paper cutouts, etc.)


Step 1:
Place your rectangle in front of you so that (2L+2W+1) is going left to right, (H+W/2+3/2) is going up and down, and the prettiest side of the paper is facing down.  The edge furthest away from you is the top of the bag, and we're going start by folding a stabilizing border.  Using your blunt object, trace your ruler and lightly press a horizontal line into the paper 1 centimeter down from the top edge.  Fold down towards you along this indentation.


Step 2:
Using two points of measurement to ensure accuracy, measure [(L+W)/2+1/2] from the left side of the rectangle, make an indentation along this vertical line, and fold towards the center.  Do the same on the right side.  The pretty side of the paper is now the outside of the bag, and there should be an overlapping seam in the middle.  Seal it.


Step 3:
Using two points of measurement to ensure accuracy, measure (W/2) from the left, make a vertical indentation, and fold towards the center.  Do the same on the right side.  Open these folds and invert the step 2 folds so they are inside the bag and flatten.  Open these folds again.


Step 4:
Using two points of measurement to ensure accuracy, measure (W+1/2) up from the bottom of the rectangle, make a horizontal indentation, and fold upwards.  Unfold.  Fold the bottom left corner up so that it meets this crease and forms an isosceles right triangle.  Do this with the right corner.  Unfold both triangles.


Step 5:
Using the horizontal crease and both triangles, open the top layer and flatten upwards.  This is called a squash fold.


Step 6:
Using the folds you made in step 3 as a guideline, measure (W/2+1/2) up from the bottom of the squash fold, make a horizontal indentation, and fold upwards.  Fold the top flap of the squash fold downwards by the same dimensions.  You should have a 1 centimeter overlapping seam in the middle of the bottom of your bag of length (L-W).  Seal it, along with the four overlapping triangles on the bottom of the bag.  In fact, if you would like to insert the bottom cardboard under these flaps before sealing, you could glue both flaps down in their entirety.*


Step 7:
Refold the step 3 folds towards the center of the bag.  Open the bag and invert the sides from step 2 once again, taking care to maintain crisp, neat edges towards the bottom of the bag and also along the top border.


Step 8:
If desired, decorate, line the bottom with a cardboard insert, and attach handles.  Maybe make a bunch for some people attending bridal parties; I don't know.  I'm not good at that part.


* If you don't like the gap left by the squash fold, you could to widen your overlapping seam from 1 to (L-W).  This means your new equations would be transformed as follows:
2L+2W+1
becomes
3L+W,
H+W/2+3/2
becomes
H-W+3L/2,
(L+W)/2+1/2
becomes
L,
W/2
stays
W/2,
W+1/2
becomes
W/2+L/2, and
W/2+1/2
becomes
L/2.

PS.  A limiting factor for making your own paper bags is that (2L+2W+1) is rather large.  However, there is no need to give up!  Using a thicker selection of wrapping paper, a few layers of newspaper, or even gluing several pieces of paper together to extend the width of your rectangle can solve this problem.  Good luck!