Mini pies are not like big pies. They have twice the ratio of crust to filling, which means the crust needs to be good. Luckily for us, my crust uses a book fold during preparation, so my pie crust has a touch of the rough puff.
Big pie tins have a gentle angle and a large diameter, and nestling a nearly two-dimensional circle into that three-dimensional form isn't the end of the world. Pie crust isn't very flexible like fondant, but it has a little give. With mini pies, however, if the angle of the sides in relation to the base is gentle, then there's no room for filling. If the angle is steep, on the other hand, you're going to need a plan. That's the purpose of this post.
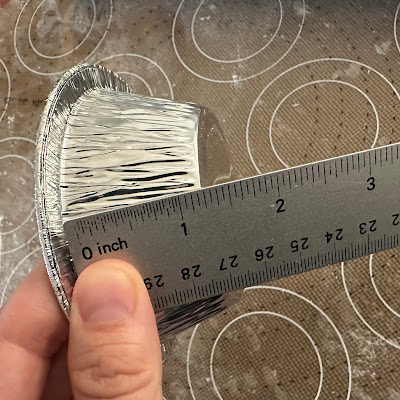
Measure the diameter of the base and add two sides to calculate your initial minimum diameter. From there, add a small buffer to cover the shrinkage due to folding the dough into the tin. Ideally, you'll also want the crust peeking upwards, extending over the height of the tin. If you're packaging these individually, you don't want the crust to be so long that it risks folding over onto the rim, which needs to remain clear for the clasping of the plastic lid. In my case, I need a diameter of a little over 4.75", and I found that the rim of one of my mixing bowls is 5.5" (buffer of .75").
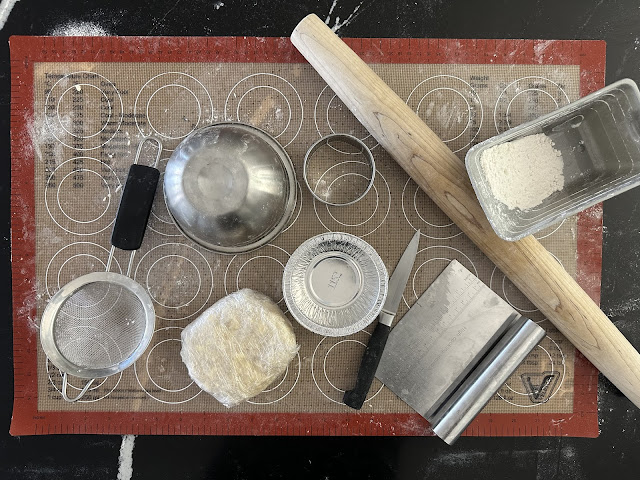
You'll also need a second circle that's a little smaller than the size of your base; I found a cookie cutter that's 2".
a rolling mat, a rolling pin, and extra flour
one standard disc of pie crust dough (for a single crusted 9" pie)
two circle stencils as described above, a small paring knife, and a bench scraper
(I do have a sifter here for my flour, but I'm just being a show-off.)
One standard pie crust therefore yields 4 mini crusts with scraps.
Gather Your Tools
Quarter Your Crust (See the Touch of the Rough)
Flour Your Quarter & Tin
Roll Out Your Dough and Trace with the Back Side of the Knife
Center Your Base Circle Stencil
Make 4 Slits with the Back Side of the Knife
Ready
Nestle That Crust
Stack in the Freezer
My client ordered 24.
I figured that my family wouldn't mind extra mini pies, so I made 8 pie crust doughs, which yielded 32 once-rolled pie crusts and another 20 re-rolled from scraps. The re-rolled dough baked up just fine, probably because half my flour is cake flour, so my dough has less gluten.
Let's make our pumpkin purée.
Thick, Luscious Pumpkin
Roasted and Ready to Purée
I Strain Purée to Make Pumpkin Spice Syrup
Let's bake those crusts.
I blind bake my mini crusts on the bottom rack at 375° for 28-30 mins.
The blind bake is set to convection bake, and I rotate halfway through.
I bake them filled with no pie crust shield on the middle rack at 325° for 28-30 mins.
The final bake is set to regular bake, and I rotate halfway through again.
I pull them once well puffed with a small wobble when shaken.
Nice Big Squares of Foil
Baking Beans
And Rocks
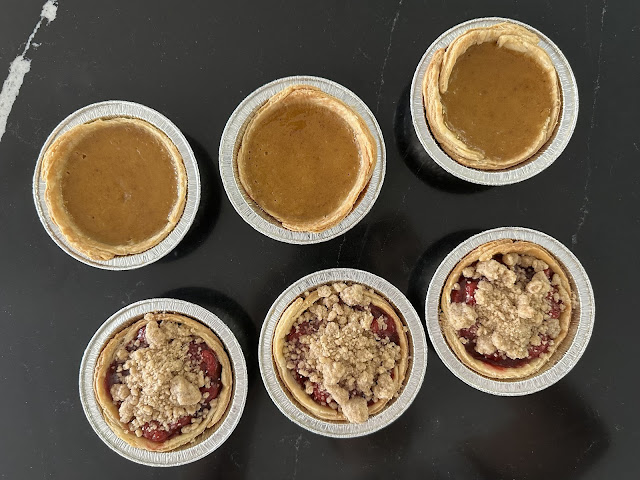
4 C Pumpkin Custard
Unfilled, Beautiful Gold/Deep Gold Bottoms
Ready for the Final Bake
4 C Fills 13 Mini Pies
One standard pie crust yields 6.5 mini crusts, 4 of which are once rolled.
One standard pie filling, or 4 C, yields 13 mini pie fillings.
They bake nicely 6-8 at a time.
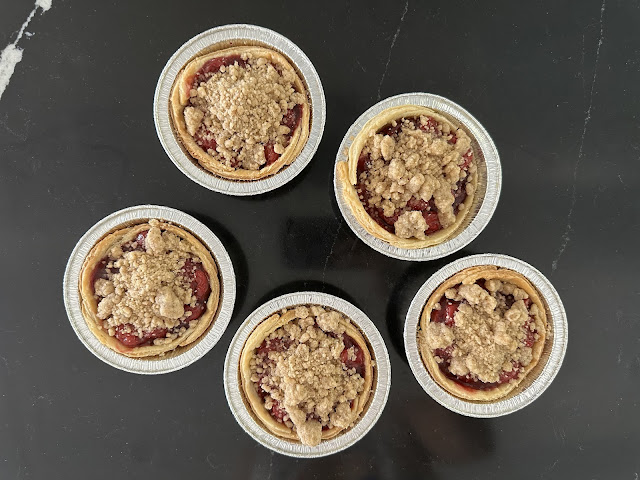
Now I'll make some tart cherry pies with a streusel topping.
I begin with 48 oz frozen tart cherries and thaw with the ingredients listed in Cherry Pie.
I never actually cook the cherries; just the filling.
I like to cook my filling until it's extra thick, let it cool, and fold it with the uncooked fruit.
The thawed cherries, combined with reduced filling, yields 4 C, or 13 mini pie fillings.
Coincidentally, half a batch of streusel topping covers 13 mini pies.
I put my filling in cold and bake at 325° for 15 mins to set the streusel.
Of course, this process would work with any fruit pie.
Cherry Pies
Streusel
Cherry
Lidded
Pie Time


