Two notes before we start. First of all, I'm talking about the standard 9.2 by 5.2 by 2.8 inch bread pans. Second, I'll be rounding to the nearest half centimeter in my measurements. If this isn't precise enough for you, we should get together and edit this post.
You probably don't actually need all this stuff. You'll want parchment paper, a large piece of cardboard, and some way to cut, mark, and measure.

Step 1:
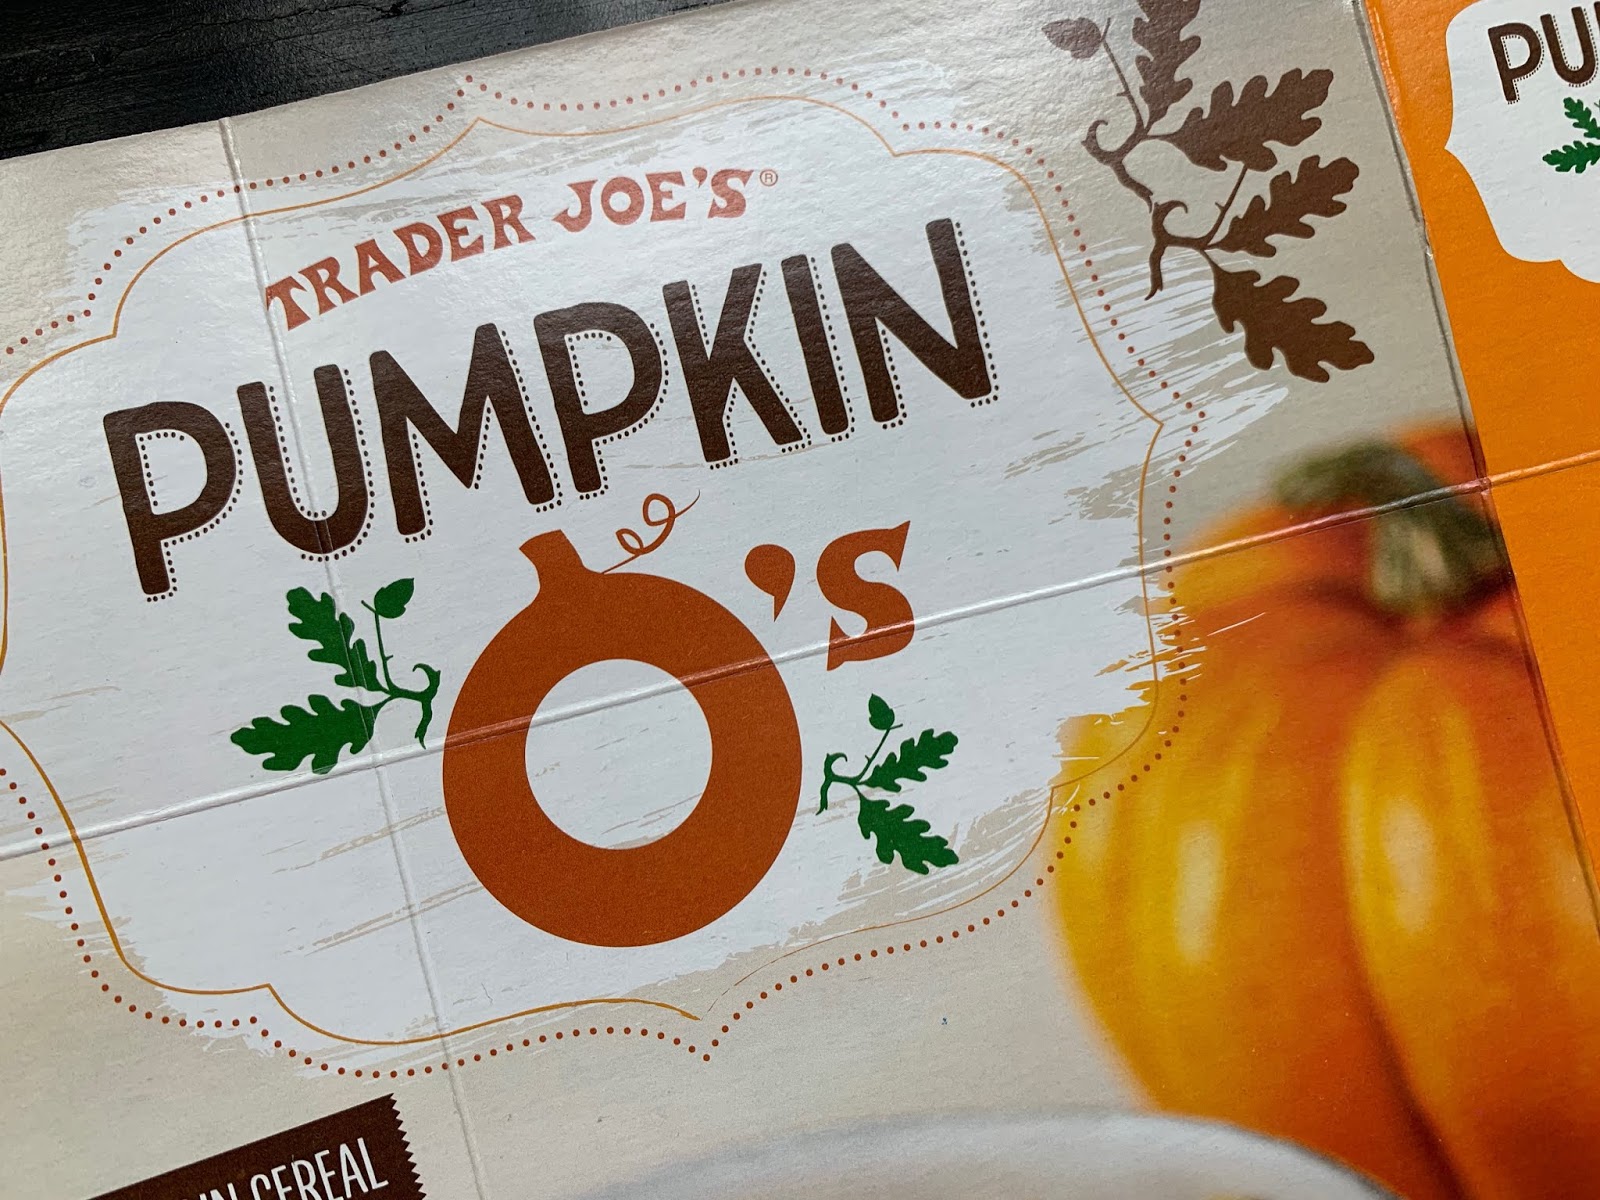
First, you'll want to make a cardboard jig so you can make bread pan liners for years to come without measuring out each one. I made mine out of a Trader Joe's Pumpkin O's cereal box, but that's gold star standard stuff. Cut your cardboard to 34 by 24 cm. Then mark or fold 7 cm from each of the four sides, creating a central rectangle of dimensions 20 by 10.

Step 2:
Orient your cardboard so that the 34 cm side is running up and down. On the top and bottom left and right sides, measure 2.5 cm from the corners. From these points, draw lines to the intersections of the 7 cm folds to the top and bottom edges. Cut.


Step 3.1:
Now that you have your jig, you may as well make a lot of these at once. All you have to do is trace onto your parchment paper, cut, and fold along the 7 cm marks.
I'll go through a series of more tedious steps, but they only make sense when you're making them in bulk.

Step 3.2:
Of course you'd only trace the jig once. It would make sense to roll out a lot of parchment paper, accordion folding it to a little over 24 cm, and trace the top sheet only.

Step 3.3:
Using a paper cutter, you'd trim along both 24 cm sides. This would still leave you with one long piece of paper in an accordion fold.

Step 3.4:
Because 34 cm is too long for a paper cutter, you'd next fold 7 cm from at least one of the 34 cm sides. I did both.

Step 3.5:
Then you'd trim the 34 cm sides with a paper cutter, removing the accordion folds and releasing each piece of parchment.

Step 3.6:
Lastly, you'd finish your fold marks and trim the corner triangles.

Step 4.1:
Place the parchment so that it's curling towards the table and away from you, and orient your paper so that the 34 cm side is running from side to side. Fold the bottom 7 cm seam upwards.
Take the right bottom corner and roughly bisect the point, pinching away from you in a mountain fold. Drag that point along the edge of the paper until you create a straight line from the 7 cm point to the bisected point. Squash fold. Notice that it's best not to finish the squash fold to the right side of the 7 cm point.

Step 4.2
Repeat with bottom left side. Turn paper around and repeat on other two corners.

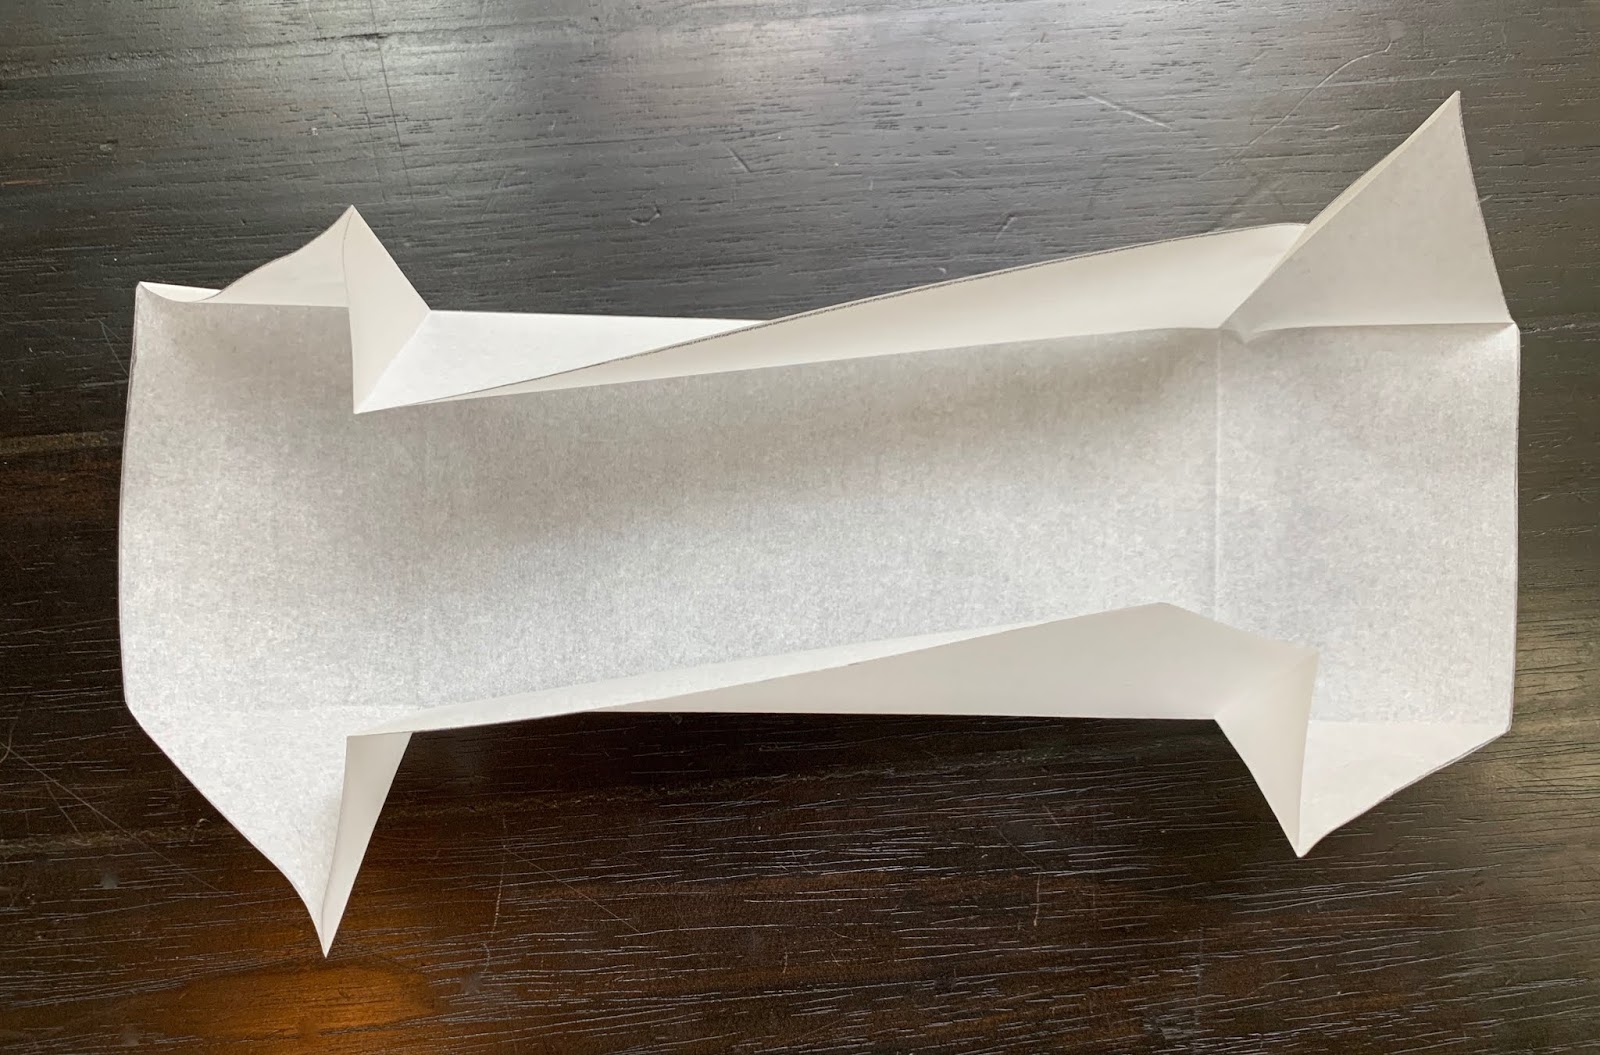
Step 5:
That's it! Just put it into a bread pan. The dimensions shouldn't hang over the top of your pan by much, and the angle should fit fairly nicely around the curve. It will fill out when you pour in your batter. Happy baking!