31 January 2021

How to Frost a Layered Cake (Intermission)

There are many articles and videos on how to do this, but I like one by

My brilliant friend and piano tuner Jack has a cake subscription with me that's coming to a close due to him moving.  I'll miss everything about him.
Jack's Last Cake for his 30th Wedding Anniversary with Barbara

You will need:
    Cakes of the same diameter, torted and leveled as necessary
    Mounds of frosting; separate batches can be made at different times
    Filling, if different from frosting
        If filling is thinner than frosting, extra piping bag of frosting
    Cake spinner
    Cardboard cake board
    Large flat surface such as a cutting board
    Parchment Paper
    Tape
    Offset spatula
    Bench scraper
    Level

Step 1:  Adhere cardboard cake board to cake spinner with a little tape.
                Place a small amount of frosting on center of cake board.
                Center first layer of cake on board.

Step 2:  If filling with frosting or thick filling, fill and level with offset spatula.
                If using a thinner filling, pipe a perimeter dam of frosting and fill center.
                If dam is higher than filling, use offset spatula to bring dam inwards until level.

Step 3:  Reserve most level layer for final top layer.
                Align second layer, press down gently, and repeat filling step.

Step 4:  Repeat with remaining layers.
                Align top layer upside down and press down gently.

Step 5:  Using spatula and bench scraper with frosting, crumb coat sides.
                Fill holes and re-scrape as necessary, aiming for straight sides.
                Bring excess frosting on top inwards and thinly crumb coat top.
                If frosting doesn't harden, simply finish frosting as best you can, and decorate cake.
                    In this case, you are finished!
                Otherwise, place in the refrigerator 60 mins or until somewhat hardened.

Step 6:  Adhere parchment to flat board with tape and remove cake from refrigerator.

Step 7:  Generously frost top of cake, allowing frosting to hang over sides.

Step 8:  Place parchment board on top of cake parchment side down.
                Level in two perpendicular directions, gently pressing down on board as needed.
                Flip cake upside down.
                Transfer cake spinner from top of cake to underneath cake.
                Double check level if desired.

Step 9:  Using spatula and bench scraper, frost sides.
                Fill holes and re-scrape as necessary, aiming for straight sides.
                (ScrumtiousCakesByFairy fills in entire diameter of cardboard cake board.)
                (Keep side layer minimal if sides will later be decorated with piped frosting.)

Step 10:  Remove cake from cake spinner and transfer board and cake to refrigerator.
                Let set this way, upside down, 3 hours or until as firm as possible.
                Remove from refrigerator and flip right side up.
                Remove top board from parchment.
                Very gently peel off parchment from several directions working inwards.

Step 11:  If necessary, smooth top of cake with offset spatula.

Step 12:  Finish decorating any way you wish.

Italian Cream Cake with Cream Cheese Frosting

Spin That Cake!

23 January 2021

More Frostings & Fillings (2/4)

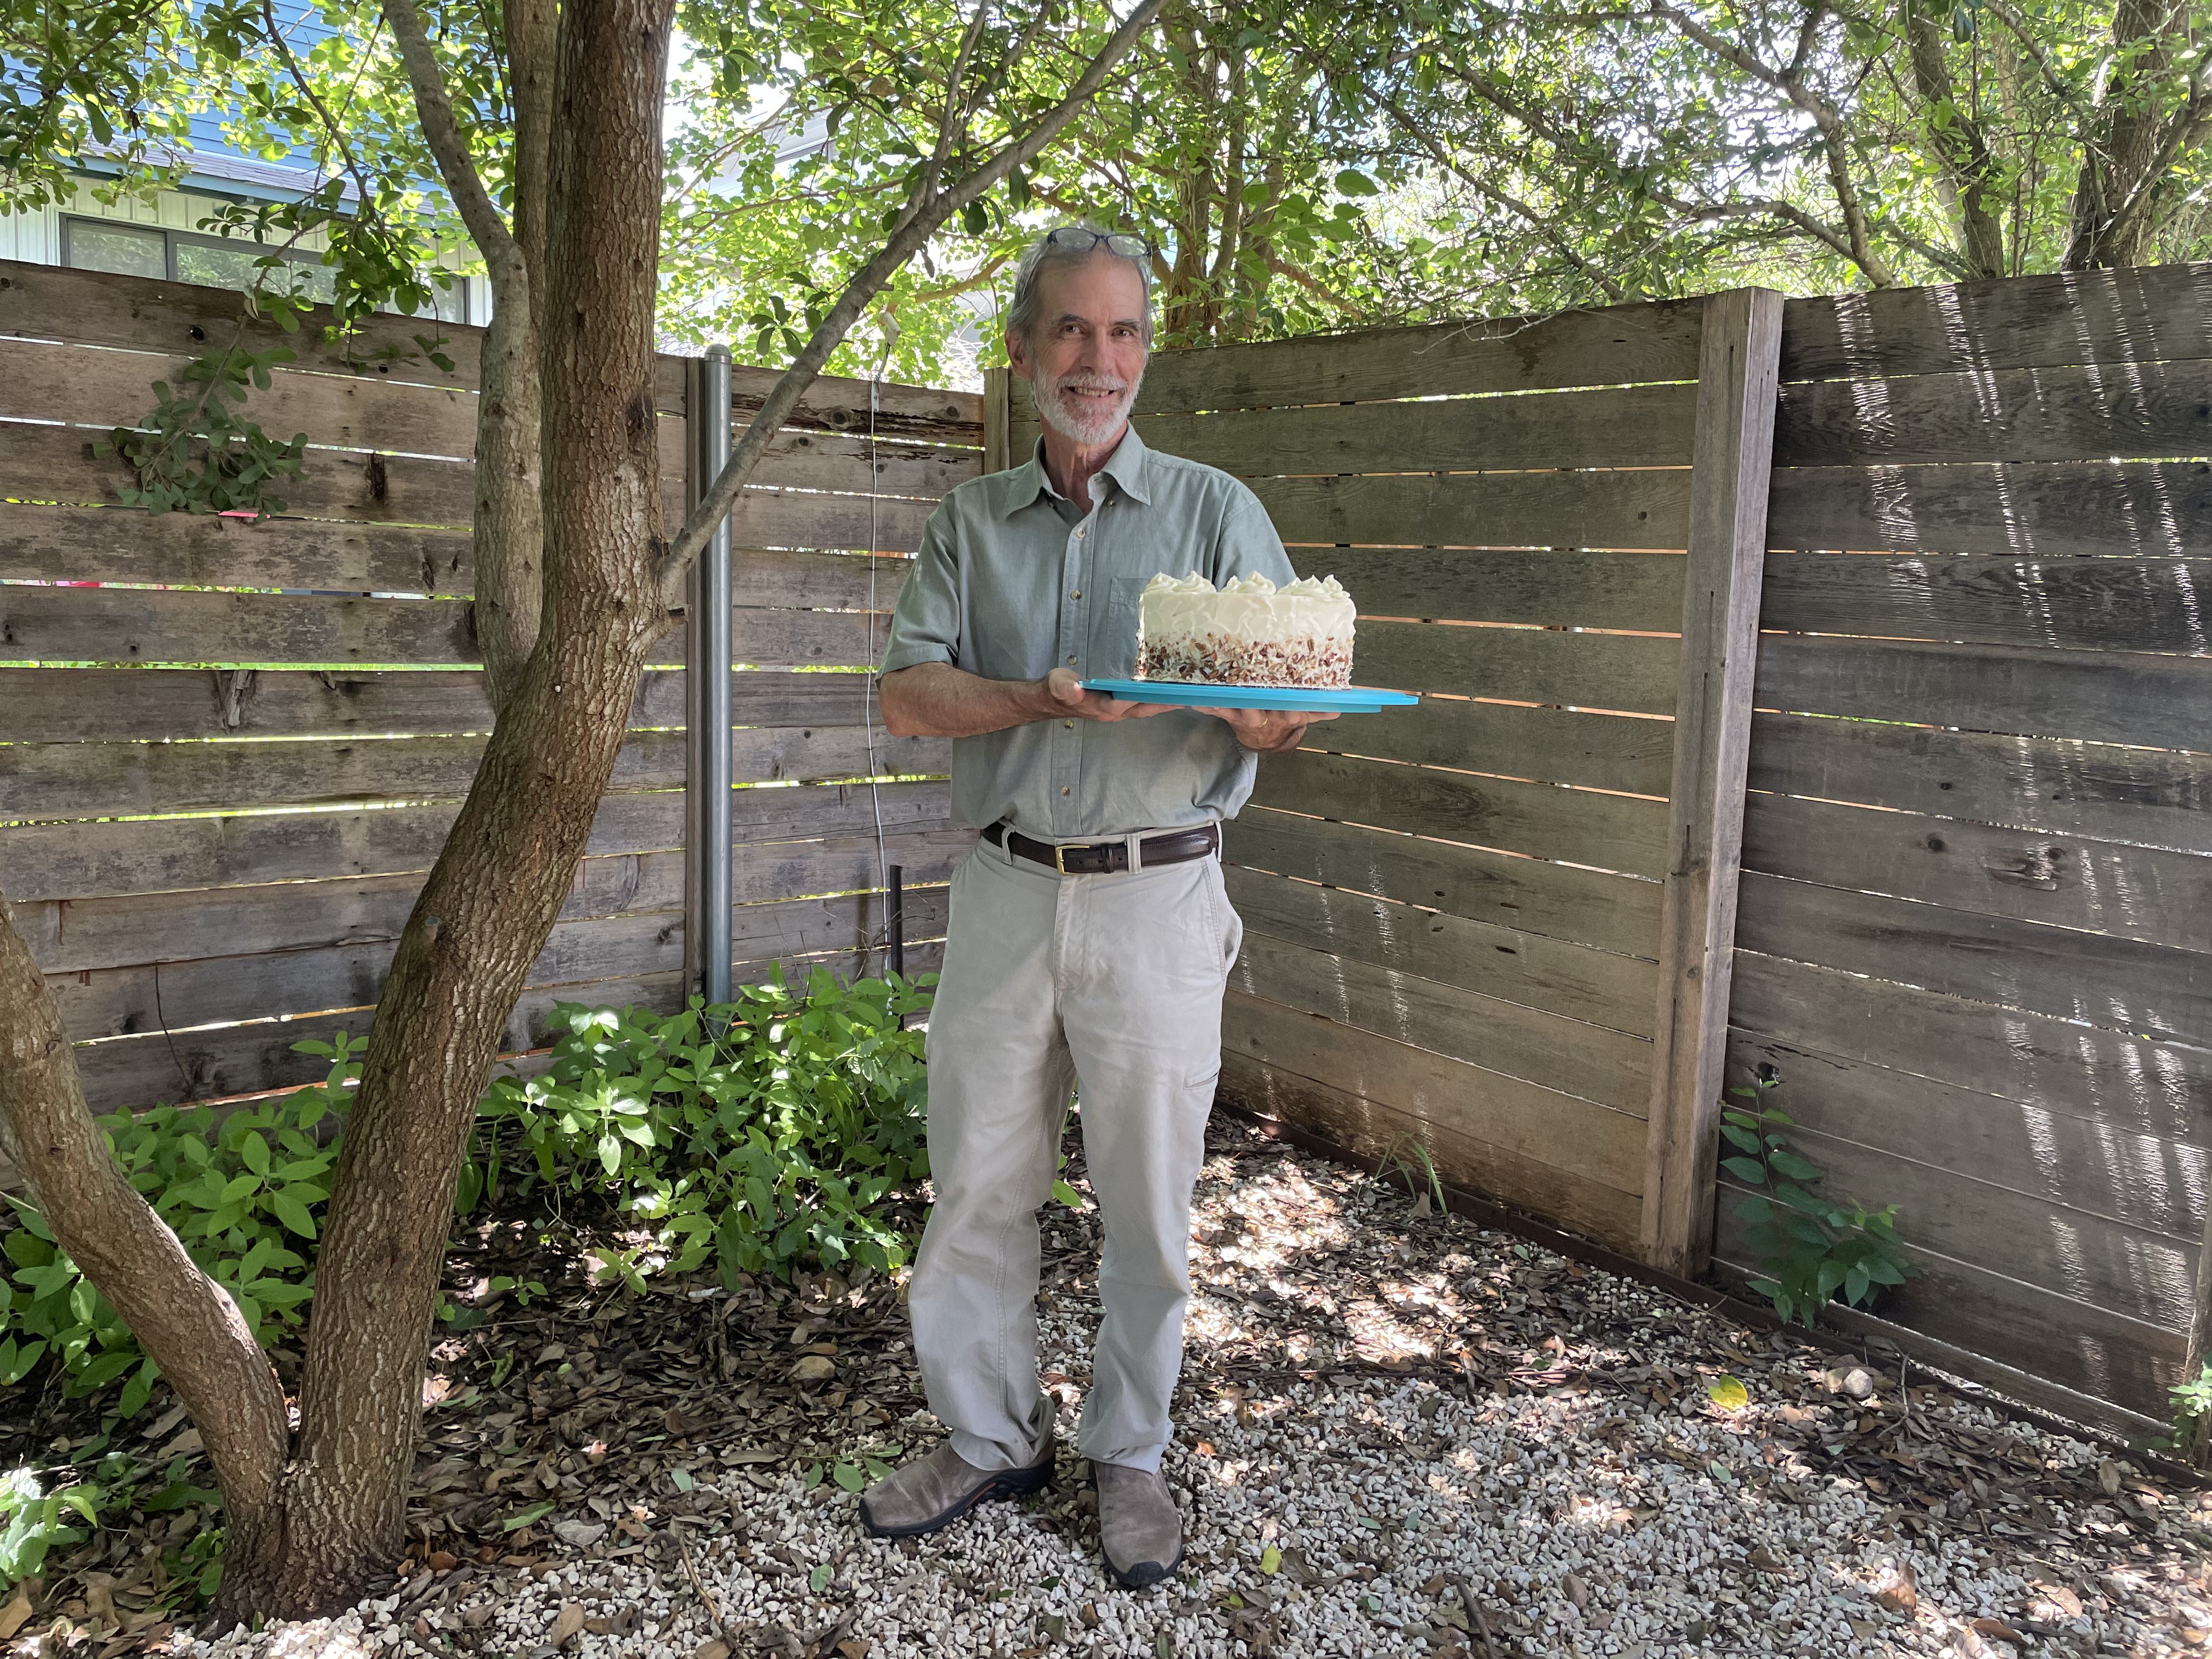
 I forced my sister and mom to read my buttercream post, and they used what attention they could muster to tell me that they don't like any of the six buttercreams.  They're too buttery.  So basically, they begged me to write this sequel.  And it's a good thing they did, because the internet is a bit of a mess on this topic.  So much so, that I have to be a narrator now.  No more single sources to cite.  No more succinct recipes line after line.  No - this mess, started by Mom and Tins, requires serious guidance.

To start untangling what's what, we'll begin with the fact that fluffy thick toppings are frostings and thin glossy toppings are icings.  Most of the internet doesn't seem to bother with this distinction, but that doesn't make it any less true.  Most cakes, cupcakes, and even cookie cakes typically use frostings, whereas most donuts, Danishes, cinnamon rolls, and bundt cakes use icings.

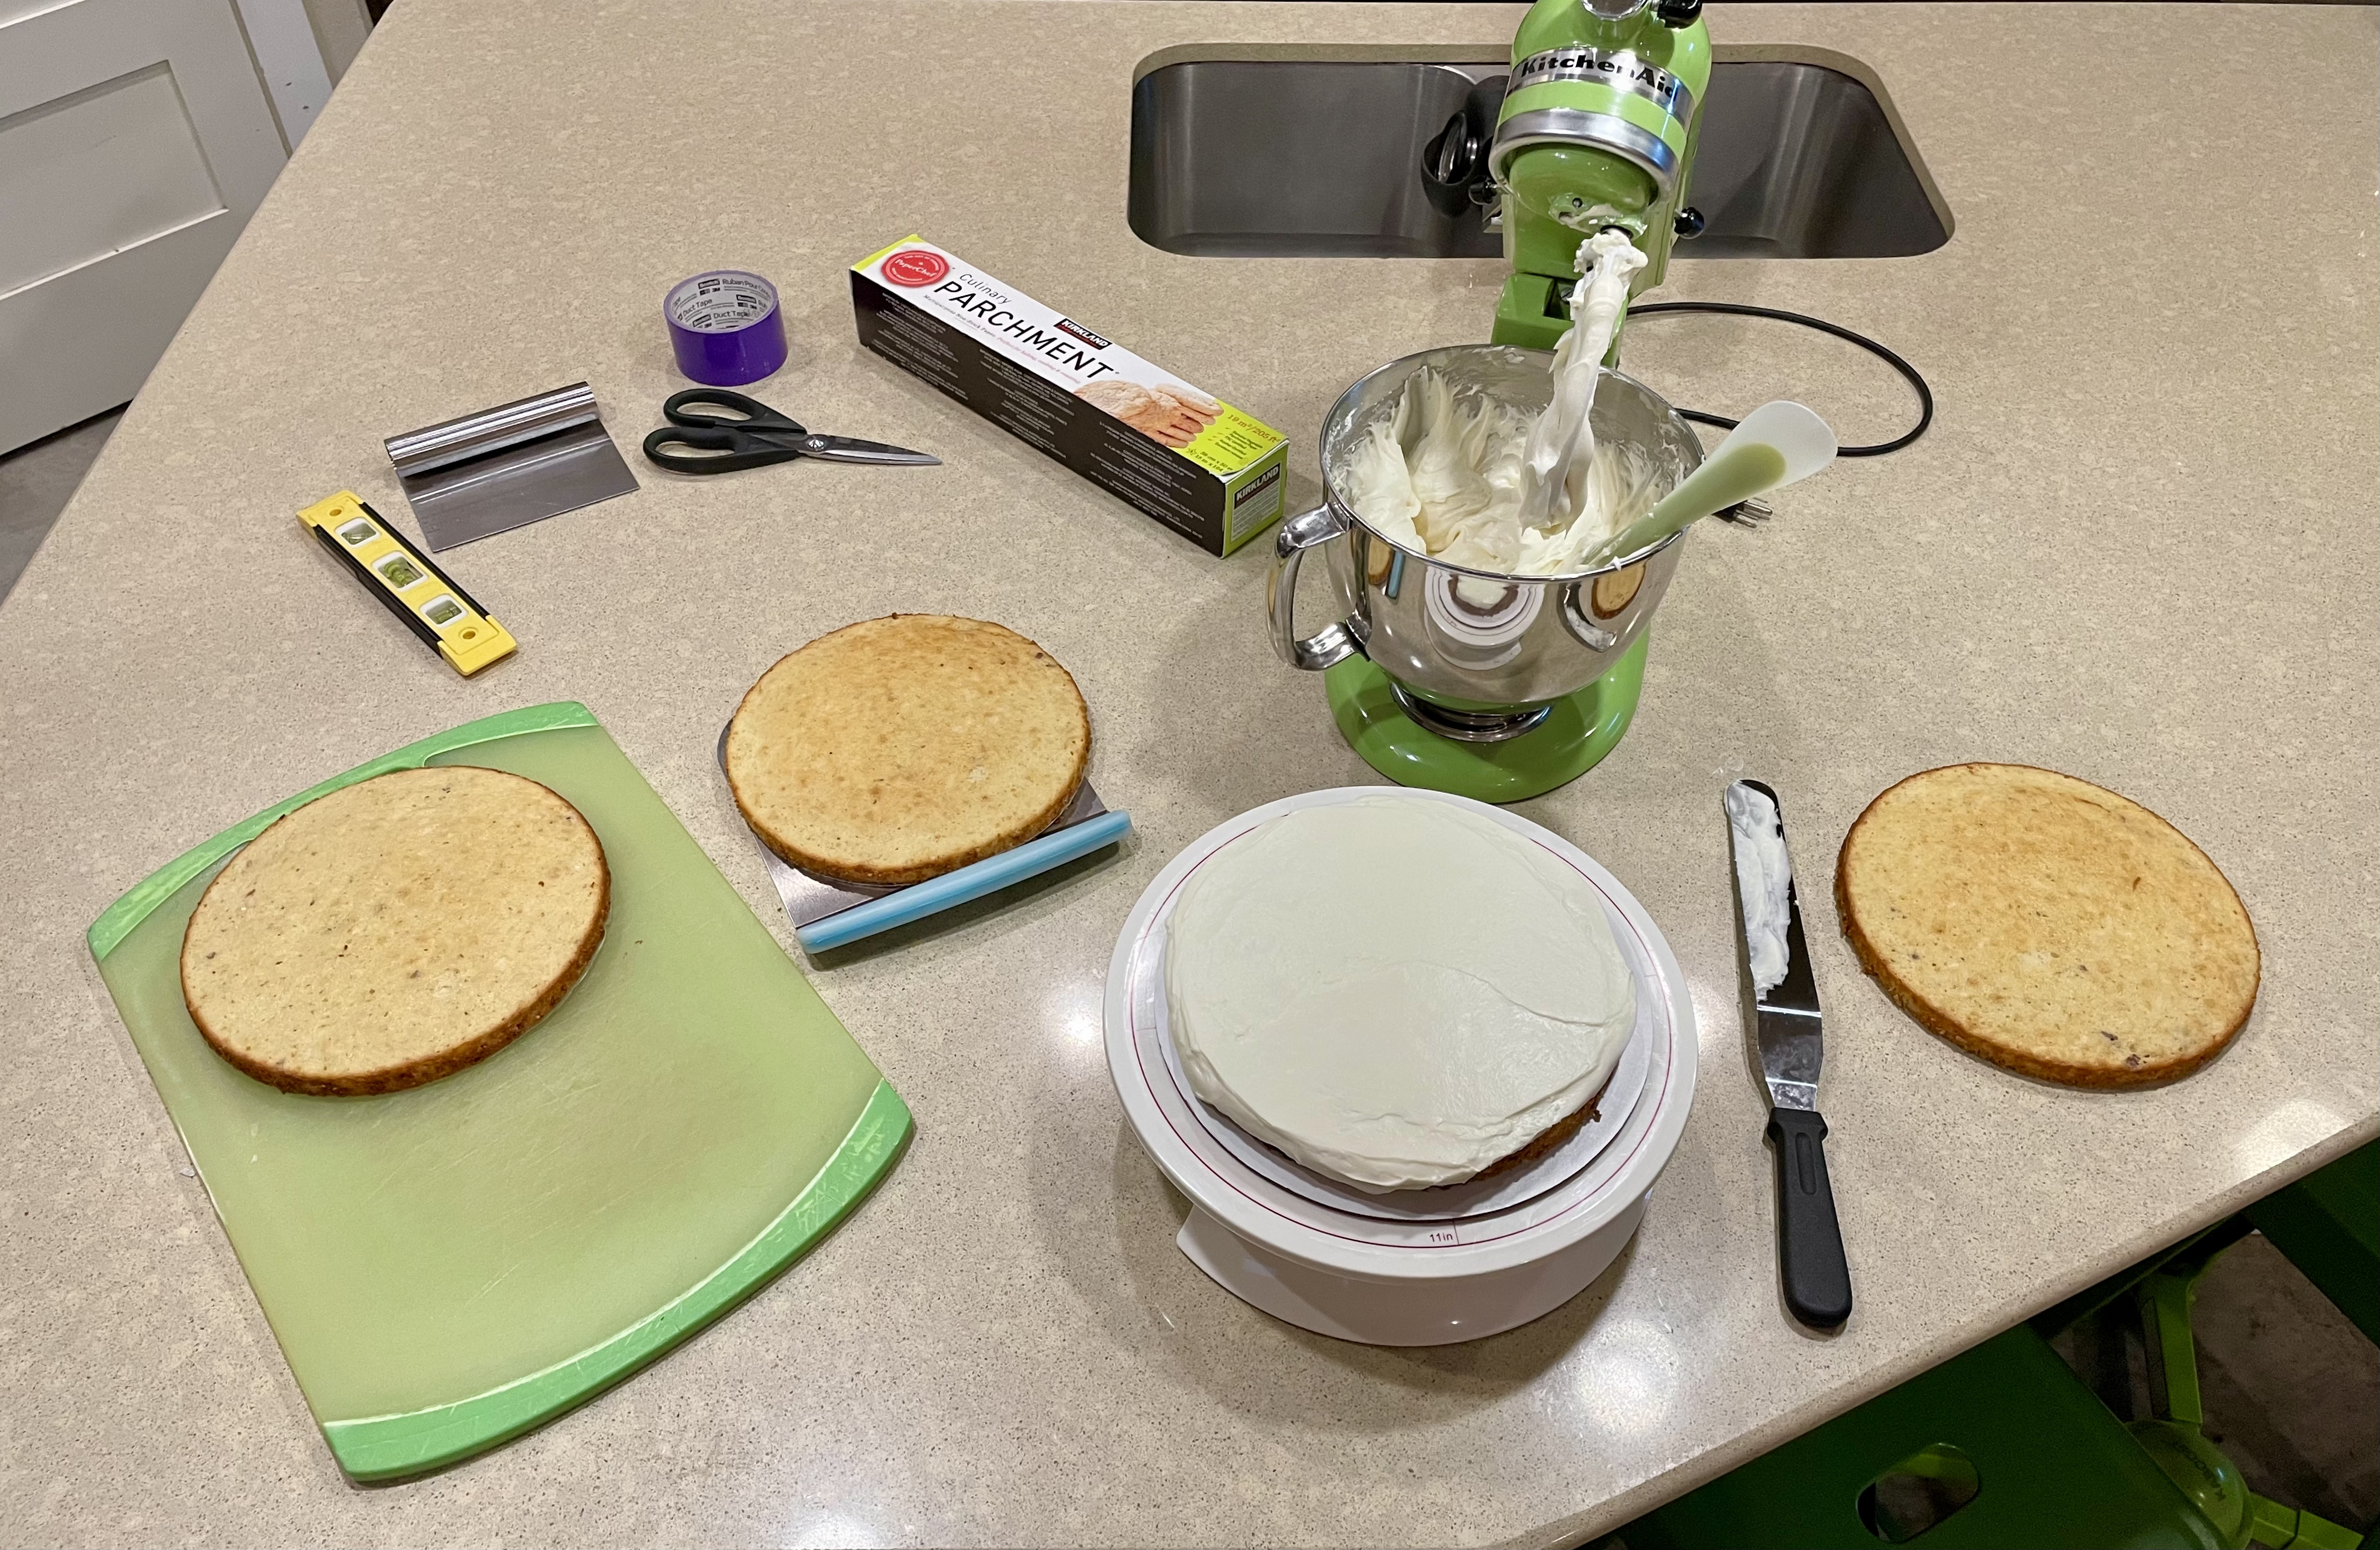
Before proceeding, I'd like to clarify that the abridged recipes in this post, like last time, leave out the finishing touches of vanilla extract or salt.  And speaking of my buttercream post, it's important to know that Ermine Buttercream or Flour Buttercream can also be called Roux Frosting, Cooked Frosting, or Boiled Milk Frosting.
But Boiled Milk Frosting is not to be confused with Boiled Frosting!  Even worse, Boiled Frosting is the same thing as Italian Meringue.  And while we're on the subject, Seven Minute Frosting happens to be Swiss Meringue.  And speaking of Swiss or Italian Meringue, either can be called Marshmallow Frosting.  So let's take a step back and talk about meringues, which are also called Foam Frostings.  All three meringues can be torched, but French Meringue will deflate quickly if not dried out in the oven.  French Meringue is not without its merits, and after it's baked, it's more of a filling than a frosting.  It has just barely made it into this post.

    1.  Meringues
a)  Swiss Meringue/Seven Minute Frosting/Marshmallow Frosting
        Melt sugar into egg whites, remove from heat, and beat.
        Sometimes, Seven Minute Frosting recipes recommend beating over heat.
b)  Italian Meringue/Boiled Frosting/Marshmallow Frosting
        Slowly pour a hot sugar and water syrup into soft peaked whites and continue beating.
c)  French Meringue
        Beat whites until frothy, slowly add sugar, and continue beating.
        A Daquoise is a baked French Meringue with finely chopped almonds and hazelnuts.

While the titles Swiss or Italian Meringue will always be current, the titles Seven-Minute Frosting and Boiled Frosting are considered somewhat last generation.  If you look up an "old fashioned frosting" or "vintage frosting" or "grandma's frosting," you'll probably get Swiss Meringue, Italian Meringue, or Ermine Buttercream.  Speaking of Ermine Buttercream, the newer "lighter buttercream" kid on the block is Cream Cheese Frosting, which is just a twist on American Buttercream.

    2.  American Buttercream Variations
a)  Cream Cheese Frosting
        Beat butter, beat in cream cheese, and beat in powdered sugar.
b)  Sour Cream Frosting
        Beat butter, beat in sour cream, and beat in powdered sugar.
c)  Decorator's Buttercream
        Replace some or all butter with shortening for a very stiff frosting.
        Stiff frosting is great for piped decorations like roses.

All frostings are fillings, but some fillings aren't frostings, as we saw with French Meringue.
The only filling that cuts sweetness with acid is curd, the most popular of which is lemon.  Lime and passionfruit are close at its heels.
Alternatively, cakes can be filled with jams, jellies, or marmalades.  A jelly is a jam that replaces fruit with fruit juice, and a marmalade is a jam made with whole citrus fruits, including the rind.
While curds and jams are good fillers because they're thick, cakes are sometimes served with thinner fruit sauces.
A fruit purée is a thick liquid of cooked and blended fruits, a coulis is a thicker sauce made from a purée, and a compote is a sugar syrup boiled with mashed fruit.  Some cakes are also filled or topped with chutney, which is a fruit relish often containing vegetables, vinegar, sugar, spices and herbs.  In reality, cake chutney omits vinegar and spices, so it's just a chunky jam.
Like lemon is a favorite for curd, orange is a favorite for marmalade, raspberry is a favorite for coulis, and mango is a favorite for chutney.

    3.  Fruit Fillings
a)  Lemon Curd
        In a water bath, whisk together yolks, sugar, lemon juice, lemon zest, and butter.
b)  Lemon Curd Frosting
        Add lemon curd to Crème Chantilly, American Buttercream, or Cream Cheese Buttercream.
c)  Jam
        Heat fruit, sugar, and lemon juice or pectin until thick.
d)  Fruit Frostings
        Jams or other condensed fruit purées can be added in moderation to buttercreams.

Curds or jams are sometimes paired with cream fillings like custards, mousses, or cream, which are usually flavored with vanilla, chocolate, fruit, candy, coffee, tea, or spices.  (Because curds, jams, custards, and mousses don't normally hold their shape without gelatin, an outer rim of frosting can be piped as a barrier to help keep everything in place between layers.)
    
    4.  Cream Fillings
a)  Crème Pâtissière/Pastry Cream/Custard
        Whisk together sugar and egg yolks, gradually add hot milk, and heat until thickened.
        Many recipes finish with butter and thicken with flour or corn starch.
b)  Mousse
        Mousses are anything aerated by folding in beaten egg whites or whipped cream.
        When molded to form an entire cake, mousses are set with gelatin.
c)  Crème Chantilly
        Whip cream and add powdered sugar.
        Crème Chantilly must be refrigerated!
d)  Crème Chantilly Frosting
        Chantilly can be stabilized with mascarpone, meringue powder, corn starch, or gelatin.

I feel guilty writing about Crème Pâtissière without its sister Crème Anglaise, which is thinner and can be poured over the top of a cake or used as a base for ice cream, mousse, or crème brûlée.  But now that you know about Crème Pâtissière, Crème Chantilly, and Crème Anglaise, there's more.

    5.  More Cream Fillings
a)  Crème Diplomat/Crème Legere
        Fold together Crème Pâtissière and Crème Chantilly.
        These are often set with gelatin.
b)  Crème Chiboust
        Fold together Crème Pâtissière and meringue.
c)  Crème Mousseline/German Buttercream
        Fold together Crème Pâtissière and whipped butter.

Less relevant to cakes but worth a tangent are Bavarian Cream and Crémeux.  Bavarian Cream or Crème Bavaroise is a dessert all on its own, and it's nothing more than a Crème Anglaise folded with Crème Chantilly and set with gelatin.  Crémeux, on the other hand, is a thickened Crème Anglaise with whipped butter or gelatin.  And speaking of gelatin, I don't like it.  Gelatin is a protein boiled out of skin, tendons, ligaments, and/or bones.  Does that sound like dessert to you?  There are two more gelatin-related concepts I'll cover which have very little to do with each other, and these are Gelatin Art Cakes and Piping Gel.  Gelatin Art Cakes are cakes that are either entirely made of gelatin or other types of cake topped or surrounded by gelatin.  They lend themselves to very beautiful designs, which is different than being appetizing.
Piping Gel is a decorative icing with a transparent and glass or water like effect, which is also used as clear glue to attach decorations to cakes or cookies.  Piping gel is made with corn syrup, water, and gelatin or corn starch, and it does not fully harden.  Grocery store birthday cakes often letter in piping gel.

    6.  Gelatin
a)  Gelatin Art Cakes
        Bloom gelatin in water, add to heated water, sugar, and citric acid, and cool.
        Colored injectable gelatin is made with the addition of milk and food colorings.
b)  Piping Gel
        Bloom gelatin in water, and heat with corn syrup.
c)  Gelatin Free Piping Gel
        Heat water and corn starch together, and add corn syrup or sugar.  
        Many recipes add lemon juice.

We've talked to the butter lovers and the marshmallow lovers and the fruit lovers and the cream lovers and even the gelatin lovers.  But what about the chocolate lovers?
Ganache is my best friend.  Ganache should be everyone's best friend.  Ganache is the most versatile, simple, and delicious frosting, filling, or glaze.  It makes every chocolate lover's dream come true.  I love Ganache as much as I hate Rolled Fondant.  I love Ganache so much that I'll honor it with ratios; Ganache is one to one and a half parts good quality chocolate to one part whipping cream, and I usually add a splash of dark rum to mine.

    7.  Ganache
a)  Ganache
        Heat heavy whipping cream, pour over chopped chocolate, let sit, and stir.
b)  Whipped Ganache
        Whip cooled ganache.
c)  Ganache Glaze
        Ganache thinned with heat, cream, butter, or corn syrup.

While we're on the topic of chocolate, we'll do Candy Frostings.  Nobody else calls Fudge or Caramel Frostings Candy Frostings, so don't throw that around at a cocktail party like you're in the know.

    8.  Candy Frostings
a)  Fudge Frosting
        Melt butter and cocoa powder or chocolate together.
        Beat in powdered sugar and a bit of milk.
b)  Caramel Frosting
        Melt butter, brown sugar, and milk together.
        Beat in powdered sugar and a bit of milk.

I'm stalling on the fondants, so we'll tackle Marzipan next.
Marzipan can be shaped or rolled like Rolled Fondant, but unlike Rolled Fondant, it's not revolting.  Because it's quite sturdy, it can be used to sculpt decorations or rolled thin to fill or cover a cake.

    9.  Marzipan/Almond Paste
        In a food processor, combine almond flour, powdered sugar, and almond extract.
        May recipes add rosewater.
        Add egg white or water to bind and knead.

And now the time has come.  Rolled Fondant is a gross play dough that's all the rage, and Poured Fondant, which is not gross, is a glaze (an icing at last!) that hardens.
If you like Rolled Fondant because you like sculpting, you could also look into Modeling Paste, which is also called Pastillage, Modeling Chocolate, or Gum Paste.  While these get an honorable mention, they don't deserve abbreviated recipes, for they are not the point of this post.  I'm only including Rolled Fondant because everybody loves seeing cakes blanketed in the stuff; it's unappetizing enough that even Rolled Fondant lovers wouldn't think to fill a cake with it.

    10.  Fondant
a)  Rolled Fondant
        Heat water and gelatin.
        Add glucose and glycerin, and just before melted, add shortening.
        Combine with powdered sugar.
b)  Poured Fondant
        Heat water and corn syrup.
        Add powdered sugar.

Now that we've finally transitioned to the icings, we'll start with Royal Icing, the pain in my ass that I can't stop making.  It gives you all of the artistic freedom in the world when faced with a sugar cookie canvas, and it's famous for setting very hard, and gingerbread houses would fall apart without it.

    11.  Royal Icing
        Beat egg whites or meringue powder and water, then beat in powdered sugar.

Glazes are icings that are smooth and shiny.  The king of glazes when it comes to cake decorating is the Mirror Glaze.  In every cooking show I've ever seen, Mirror Glaze strikes a body as being absolutely problematic and unnatural at best.  I hate it.  It is poured over frosted cakes and magnifies each imperfection with a glaring, ghastly shine.  And when it's dull, it's even uglier.  Often clumpy, never appetizing.  It pools drips of shiny gelatin around the base of what used to be a perfectly acceptable cake.  Oh, I might have forgotten to mention that like Rolled Fondant, it's also all the rage.  It's "so cool."

    12.  Glazes
a)  Glaze
        Combine powdered sugar with a bit of liquid.
        Usually, this is milk, cream, melted butter, or citrus juice and zest.
b)  Mirror Glaze
        Combine water and gelatin.
        Separately, heat sugar and water to form a syrup.
        Combine gelatin, syrup, white chocolate and sweetened condensed milk.
        Save your cake and throw the mirror glaze down the drain where it belongs.

There you have it.  Now you should be able to dream up fillings and frostings from an arsenal of buttercreams, meringues, fruits fillings, chocolate fillings, and creams.  If your takeaway from this post is that you can't wait to make your first Gelatin Art Cake, then you really weren't my target audience, but thanks for sticking it out.  It takes all kinds to make a world.

Rocky Road Cupcakes with Vanilla Bean & Pink Salt Mascarpone Whipped Cream

20 January 2021

The Six Buttercreams (1/4)

 There are times that I realize I don't keep my buttercreams straight.   If you, too, are suddenly confronted by your lack of confidence in your knowledge of buttercreams, then this will prove a very fast and easy read.  I love seriouseats, so I used their article to write this guide.

6 Notes
All buttercreams harden in the fridge and should be served at room temperature.
All buttercreams are flavored with extracts and a little finely ground salt.
American & Ermine use no eggs, Swiss & Italian use whites, and German & French use yolks.
American, Ermine, & German beat butter first, and Swiss, Italian, & French beat it in second.
Ermine, Swiss Meringue, and Italian Meringue are emulsions.
American and Swiss Meringue are the most popular.

6 Buttercreams
1.  American Buttercream
Easiest, sweetest, only process with no heat required, least heat resistant.
    Beat butter.
    Beat in powdered sugar and a splash of milk.

2.  Flour/Ermine Buttercream
Least sweet, airy, second easiest.
    Beat butter.
    Still beating, slowly add cooled pudding made of milk, sugar, and flour.

3.  German Buttercream
Yellow, soft and light, not very heat resistant.
    Beat butter.
    Still beating, slowly add cooled crème pâtissière.
        (custard made of milk, sugar, egg yolks, and corn starch).

4.  Swiss Meringue Buttercream
Most heat resistant, only process that pasteurizes eggs.
    Make a Swiss meringue.
        (dissolve sugar into egg whites over heat, remove from heat, beat).
    Still beating, slowly beat in pieces of cool, softened butter.

5.  Italian Meringue Buttercream
Most stable and firmest.
    Make an Italian meringue.
        (beat hot syrup into beating egg whites).
    Still beating, slowly add pieces of cool, softened butter.

6.  French Buttercream
Yellow, rich and custardy, not very heat resistant.
    Make a pâte à bombe.
        (beat hot syrup into beating egg yolks).
    Still beating, slowly add pieces of cool, softened butter.

Figment Lemon Poppyseed Cupcakes with Swiss Meringue

18 January 2021

How To Make The Sky King Paper Airplane

The Sky King paper airplane was designed by Takuo Toda, and beat the 2009 world record for paper airplane flight time at 27.9 seconds.  What I love about it is the lock on the nose, which is seriously too cool for school.  You'll need a standard 8.5 by 11" piece of paper, and if you don't want to eyeball a couple of measurements, a ruler with centimeters.  Google sites has a beautiful page that includes pdfs and videos of several paper airplanes; here's their pdf and video for this version of the Sky King.  This tutorial uses the printed pdf.

Step 1:  Fold in half lengthwise.

Step 2:  Fold corners down.

Step 3:  Leaving 2.5 cm at the bottom, fold point downwards.

Step 4:  Fold corners down again.

Step 5:  Unfold corners and fold sides into these creases.

Step 6:  Refold step 4 corners.

Step 7:  Fold point upwards to point where edges meet.

Step 8:  Unfold tip and flip plane over.

Step 9:  Fold in half.

Step 10:  Fold tip up to meet step 7 crease.

Step 11:  Open tip to form a front square.

Step 12:  Flatten square.

Step 13:  Unflatten square and fold top layer down.

Step 14:  Reflatten square.

Step 15:  Fold wings along center square seam, parallel to bottom edge.

Step 16:  Fold parallel winglets upwards, 1.75 cm in height.

As is customary, curve back edge of each wing upwards for optimum flight.
If the nose is pointing away from you, flex the edge of paper facing you into a lowercase "m."

Happy flying!

15 January 2021

How to Make The Suzanne Paper Airplane (Easier)

My original post on how to make a paper airplane was a bit tedious, so this is for those times that you care just a little bit less.  Google sites has a beautiful page that includes pdfs and videos of several paper airplanes; here's their pdf and video for the Suzanne model.

Step 1:  Cut 19 mm from the 8.5" side of your 8.5 by 11" paper or print and trim the pdf as indicated.

Step 2:  Fold two square diagonals.

Step 3:  Fold the upper side edges into this crease.
I would like to leave it at that, but it really is nicer if you can leave 1 mm of space between the edge of the paper and the step 2 crease, and it's really no harder to do.


Step 4:  See the point where the two edges meet?  Fold the paper straight down along that point.


Step 5:  Refold the side creases.

Step 6:  Turn it over and fold it in half.

Step 7:  Fold wings so they look like this.
Leave a little space (6 mm) above the nose and fold at the angle where the square on the bottom of the body just disappears under the wings.


Step 8:  Pull the wings upwards so they form a slight "Y" shape instead of a "T."

Step 9:  Tape up the seams a bit, bend the back end of the wings up slightly, and throw it at your kids.
Ideally, the bottom of the plane, the back of the tail, the folds under the wings, and the top seam are all sealed.

PS.  This John Collins video also shows you how to make The Boomerang I, The Boomerang II, The Bat Plane, and The Tumbling Wing.

14 January 2021

How To Make The Suzanne Paper Airplane

My source for how to make the Suzanne paper airplane is this video by The Paper Airplane Guy, John Collins.  You could click on it and forget about the rest of the world for 37 minutes to get the real deal.  Suzanne, named after John Collins' wife, beat the 2012 world record for paper airplane distance at 226 feet and 10 inches.

You will need:
1.  A standard 8.5 by 11"  piece of paper
2.  A paper cutter
3.  A bone folder
4.  A 25 mm wide piece of tape cut to 30 mm and very sharp clean scissors*
5.  A ruler, a protractor, and extra cardboard
6.  A clip to hold your airplane while you tape it

*I wrote to Mr. Collins to ask him why he uses this quantity of tape, and to my amazement, he wrote me back immediately!  This is the maximum amount of tape allowed by Guinness rules.  I'll tell you how to work with 30 mm of tape, but I'll be using smiley face stickers instead because:
            a.  I'm lazy, and particularly lazy about getting very sharp clean scissors
            b.  You can see the placement of smiley face stickers better than tape
            c.  Smiley face stickers are more fun
            d.  I don't think I'll be breaking the world record today.  Maybe tomorrow.
Dogfish Head Punkin Ale

Step 1:
Make two cardboard templates.
The first measures 30 mm.
The second measures a 155° angle and a 165° angle.
Measuring Jigs

Step 2:
Use your paper cutter to slice 19 mm from the 8.5" side.
19 mm

Step 3:
The first two folds are square diagonal folds.  Always reinforce creases with the bone folder.
Square Diagonal

Step 4:
Orienting your paper so the square is at the top, each of your right angles are bisected into 45° angles.  Imagine bisecting the two 45° angles on the bottom right and left sides of the square.  Now fold nearly along these angles, leaving an extra 1 mm of paper between the sides of the paper and the creased diagonals.  This is not a drill, so unfold one side before folding the other.
Square at the Top

1 mm Between Paper and Creases

Step 5:
Using the bone folder, uncrease the original 45° folds towards the top of the paper.  Along the point where the two sides of the paper meet, fold the top of the paper down symmetrically.  The creases of the 22.5° angles on the back and front of your paper will line up.
Uncrease Top

Point Where 2 Sides Meet

22.5° Lines Aligned and Traced

Step 6:
With the top still folded down, refold each 22.5° crease one at a time and release.  Refold them downwards at the same time.
Refolded

Step 7:
Turn the paper airplane over and fold in half, lining up rear corners and bisecting the nose.
Fold in Half

Step 8:
To fold the wings, start about 4 mm from the tip of the nose and bring the wing down until the center bottom point on the back of the body just disappears under the wing.
Square Corner Underneath Just Covered

Both Wings

Step 9:
Lift the wings slightly upwards so that the dihedral angle at the nose is 165°.  The angle should measure 155° in the middle of the wings.
Towards the Nose

Middle of the Wings.  Dihedral is a New Word For Me

Step 10:
Using the 30 mm jig, measure out 30 mm of 25 mm wide tape.  Cut 2 mm from the 30 mm and seal both sides of the central seam on the bottom of the body.
Blue 1

Step 11:
Cut another 2 mm from the 28 mm of remaining tape and seal both sides of the upper seam on the bottom of the body.  This seam is at a diagonal, and your tape, like last time, must fold across it perpendicular to the bottom of the plane.
Blue 2

Step 12:
Cut another 2 mm from the 26 mm of remaining tape.  Cut the tape in half by width.  Using the 30 mm jig, start applying one half of the tape 30 mm from the point where the wing creases into the body, and cover the seam for the length of the tape, 12.5 mm, moving outwards towards the edge of the wing.  Repeat with the other half piece on the other wing.
Green 1 & 2

Step 13:
Cut two more 2 mm pieces from the 24 mm of remaining tape.  Lengthwise, fold the tape in half, sealing the top back edge of the tail.  I'm not making this up, and the original video uses 1 mm.  Repeat for the bottom back edge of the tail so the entire tail is sealed with two outrageously narrow strips of tape.
Orange 1 & 2

Step 14:
Cut another 2 mm from the 20 mm of remaining tape.  Cut 4 mm from the width and use this tiny 2x4 mm to secure the very back end of the wings over the tail together.
Red 1

Step 15:
Bisect the remaining piece of tape, which is 2 by 21 mm, by width and flip the plane back over so that the body is again pointing upwards.  Use each half to secure the wing seams at the very outer edges of the plane.
Green 3 & 4

Step 16:
Cut 4 mm from the 18 mm of remaining tape.  Cut a square of tape from one end and wrap it around the top of the nose.
Black Strip on the Nose

Step 17:
Bisect the remaining piece of tape, which is 4 by 21 mm, by width.  Use one piece to close in the bottom of the plane under the nose just behind where the wings meet the body.  The tape will ride up the body just over 5 mm on each side.  Use the second piece to do the same, but at the halfway point between the tape just placed and the second tape placed over the folded seam.  In our case, this was Blue 2.
Blue 3 & 4

Step 18:
Cut two 3 mm pieces from the 14 mm of remaining tape.  With the body pointing upwards, secure the top folds of the wings down where they meet the body.  The tape will also secure the second layer of paper underneath.
Green 5 & 6

Step 19:
Take the remaining 8 mm piece of tape and cut it into two 4 mm strips.  Double check that the dihedral angle at the nose is at 165° and the middle of the wings is 155°.  Secure the wings to each other about 1.5 cm from the tip of the nose so that the tape extends towards the edges on each side by 12.5 mm.  Repeat with the second piece of tape another cm down the body.
Dihedral - having or contained by two plane faces.  Such a lovely word.

Red 2 & 3

Step 20:
Adjust the back points of the wings so they are bent slightly upwards to encourage the nose to point downwards.  Enjoy your airplane!  This model was designed by John Collins with distance in mind, and this video shows the 2012 world record throw.
Wings Bent Upwards

Happy Flying!